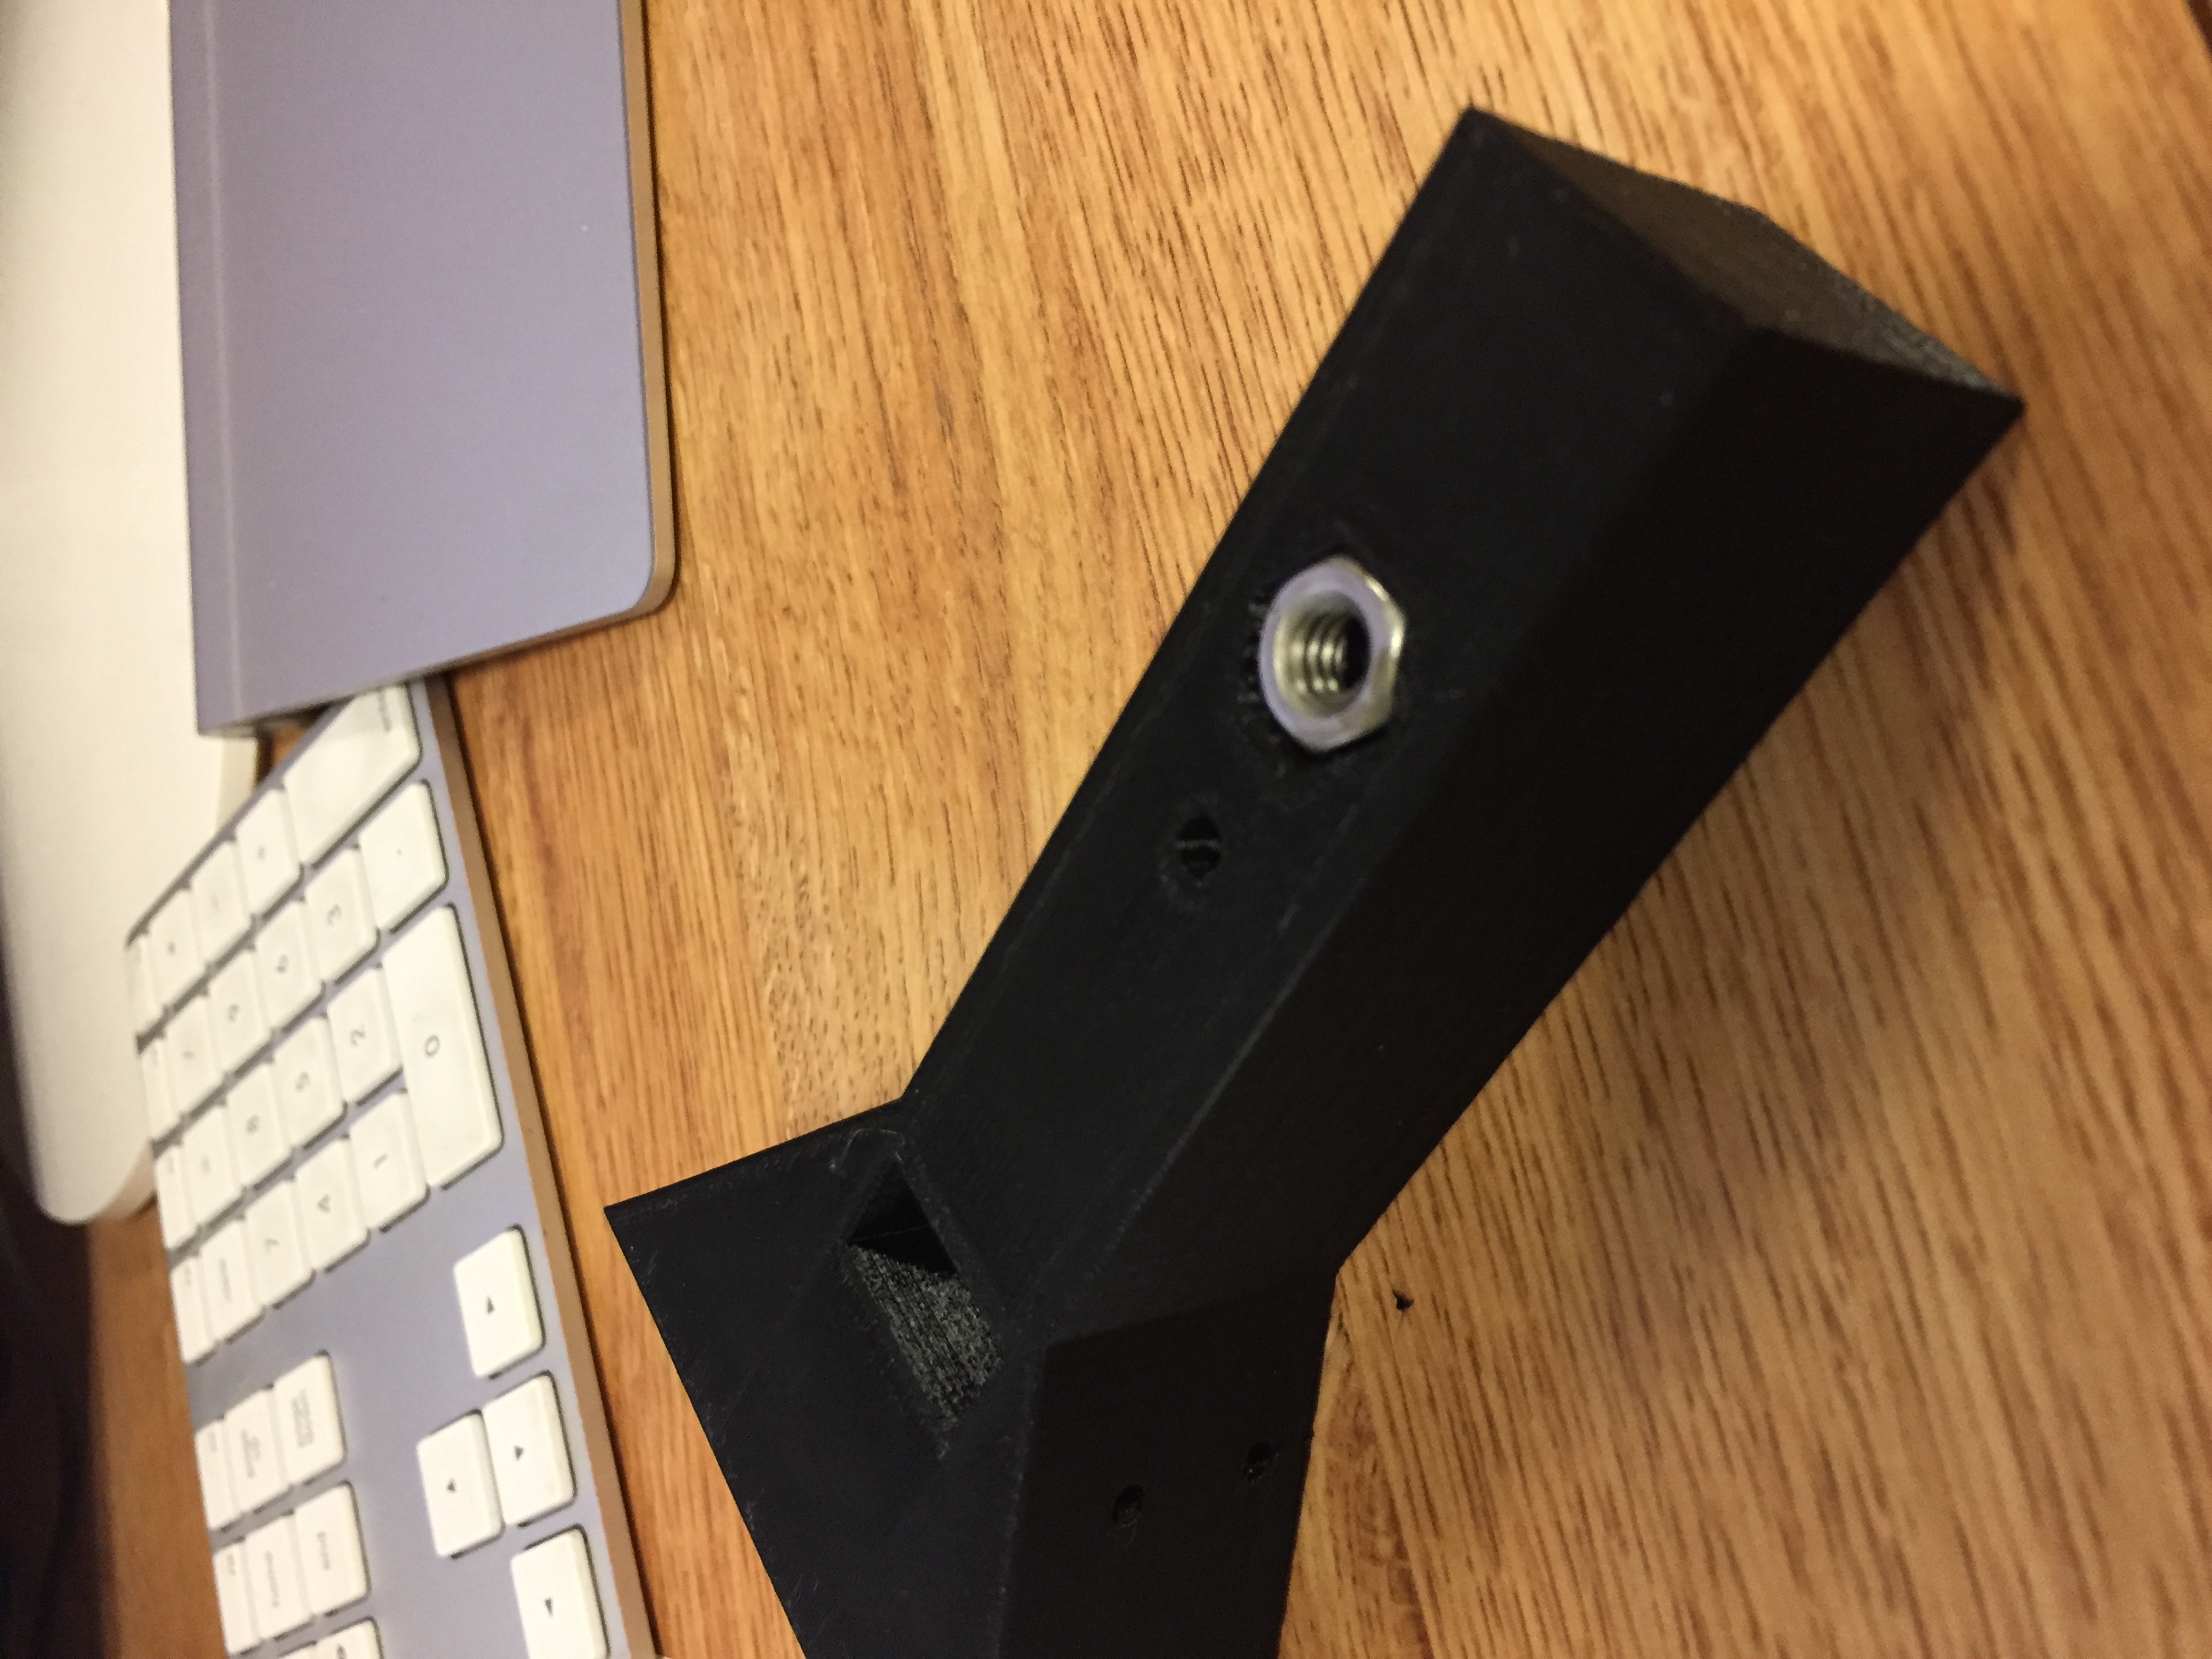
I made much more progress this week than I did last week and iterated through a number of revisions. I spent ~6 hours this week working on this. I started the week by printing the 3rd version of my camera mount, which I designed last week. The hex nut fit loosely, but a drop of hot glue secured it perfectly. The whole system fit well on the tripod.
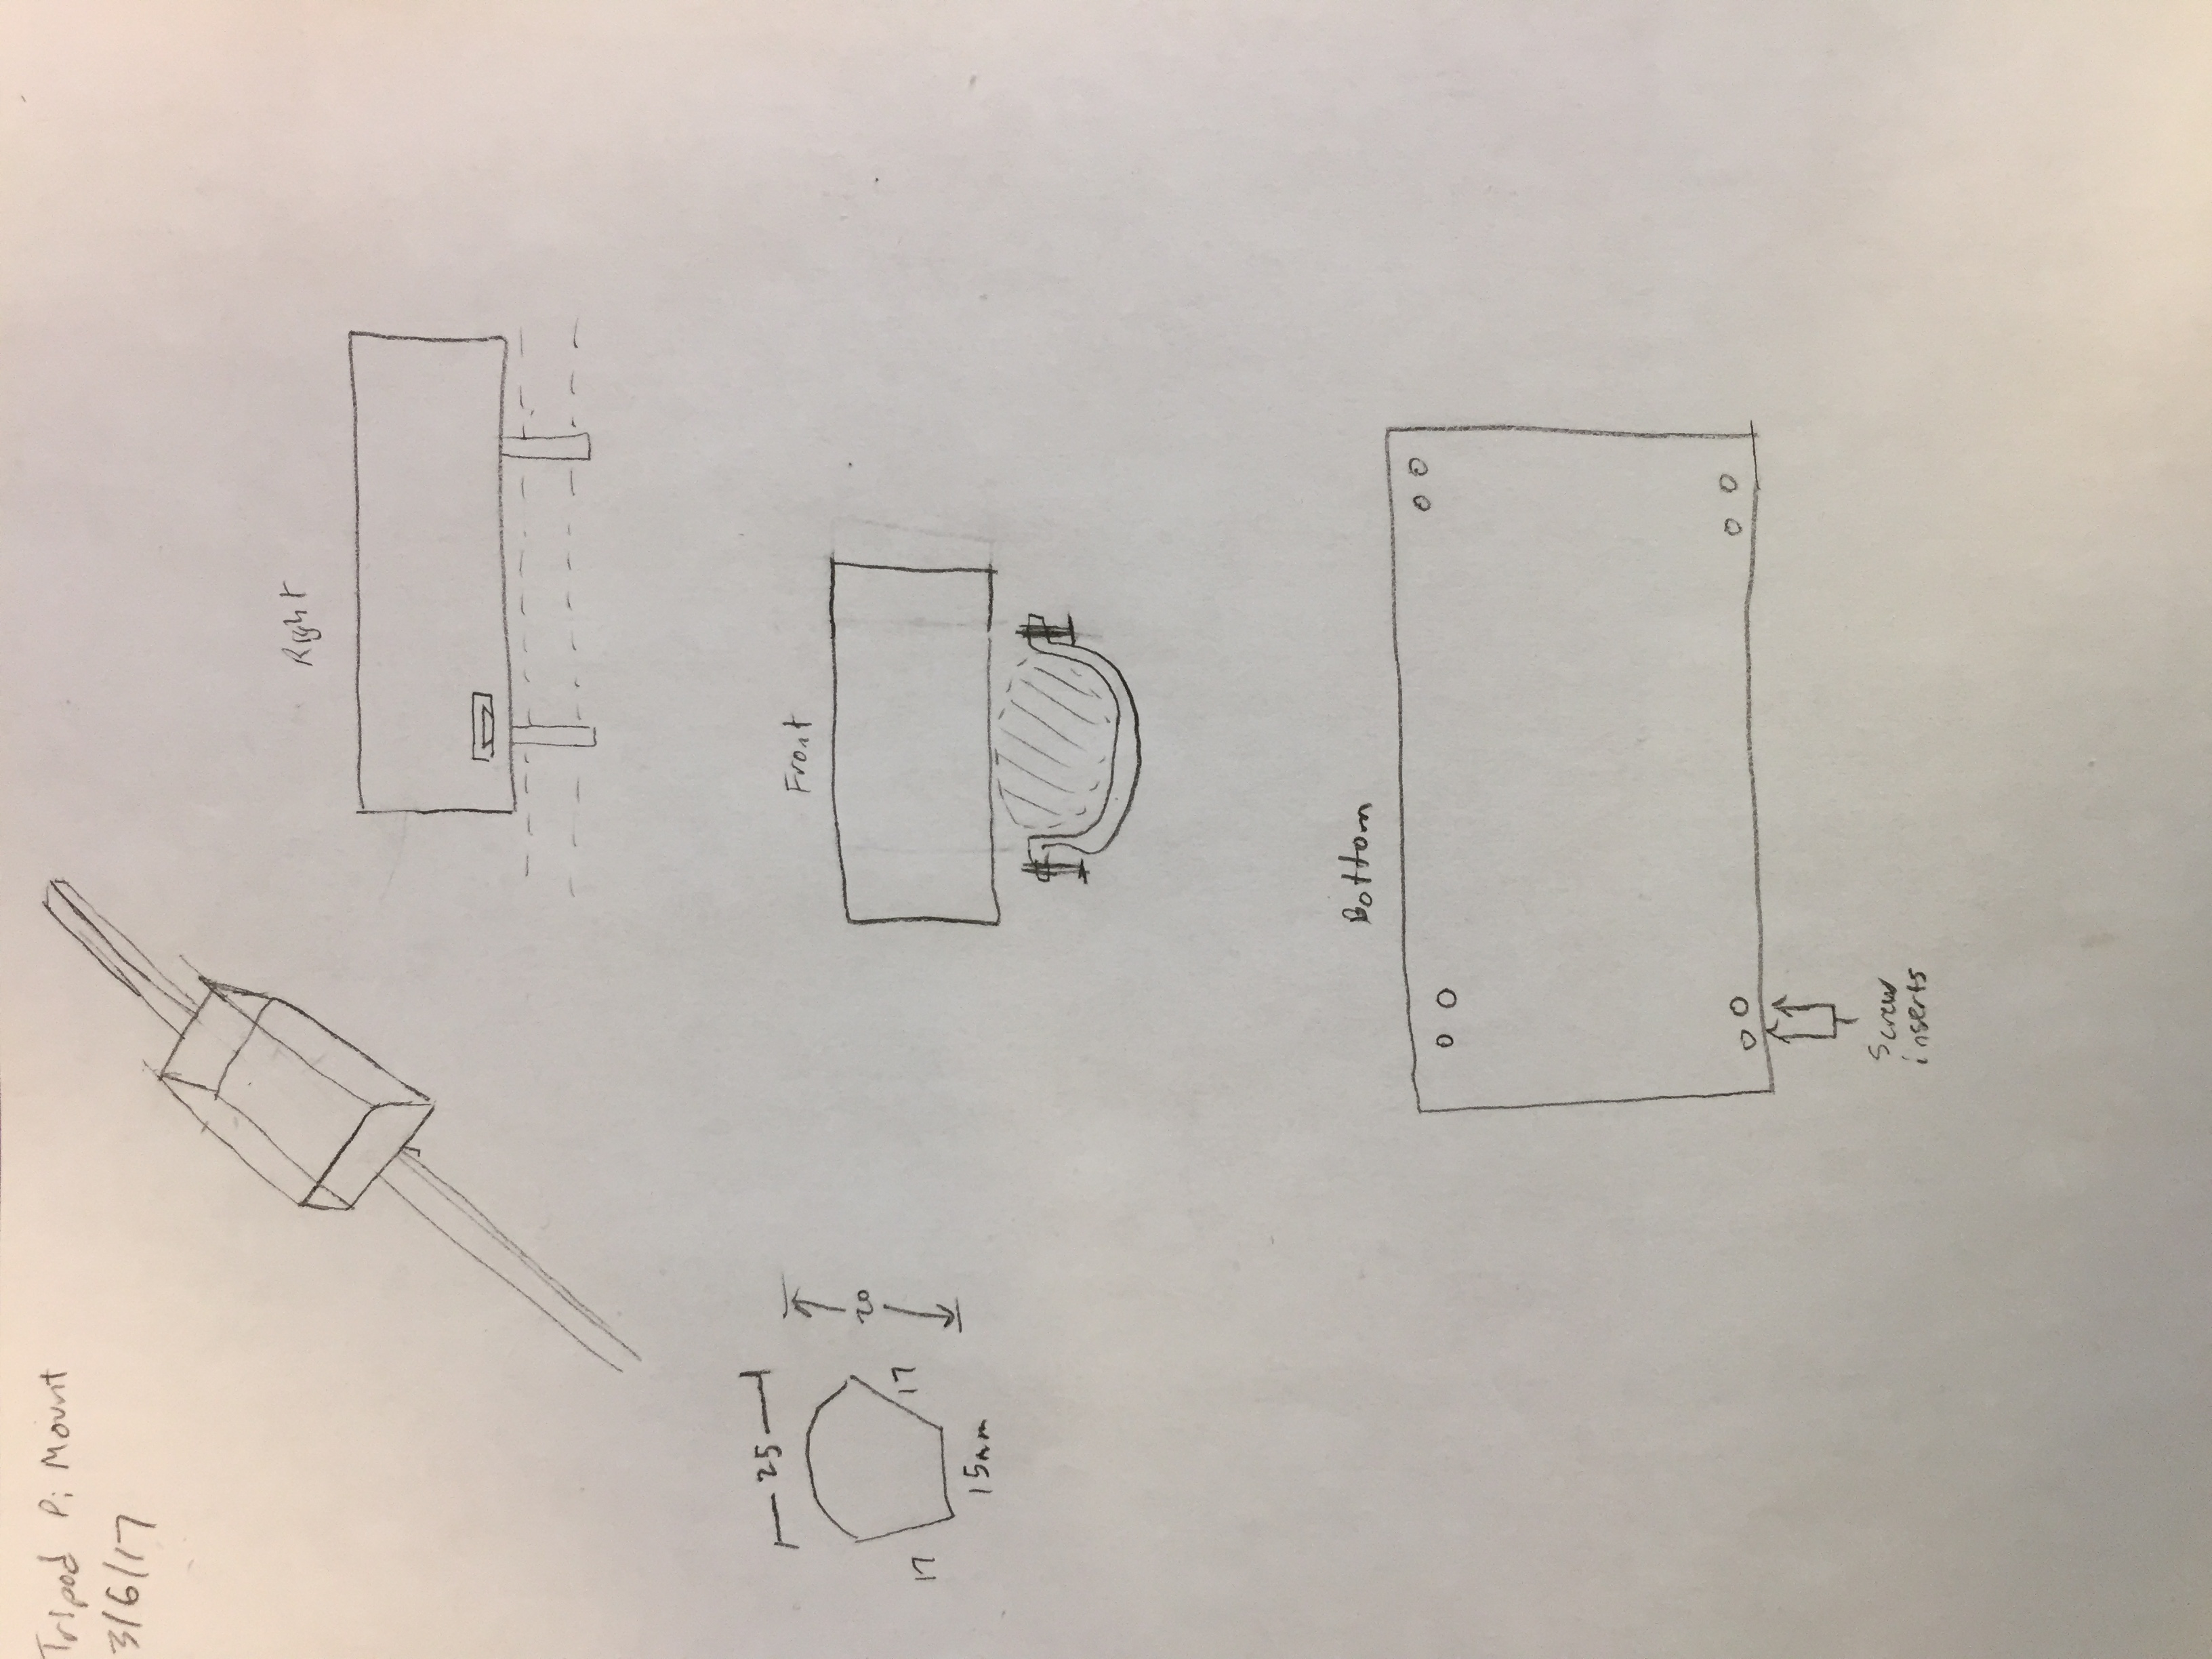
I ordered longer cables for each camera (12” instead of 6”) and started working on ideas for the Pi case and mount. This portion of the system will likely be mounted on to one of the tripod legs.
On Tuesday, I realized that camera mount v3 has a fatal design flaw – the arm that extends to the tripod forms a wall between two of the cameras, blocking any overlap that they’d have. This stems from oversight on my part in my rush to make a tripod mountable version.
With this issue in mind, I redesigned the camera mount and sent it to print. This revision took some careful thinking. I needed a way to attach the system to the tripod without getting in the way of the cables. I couldn’t attach it directly to the tripod without creasing the cables.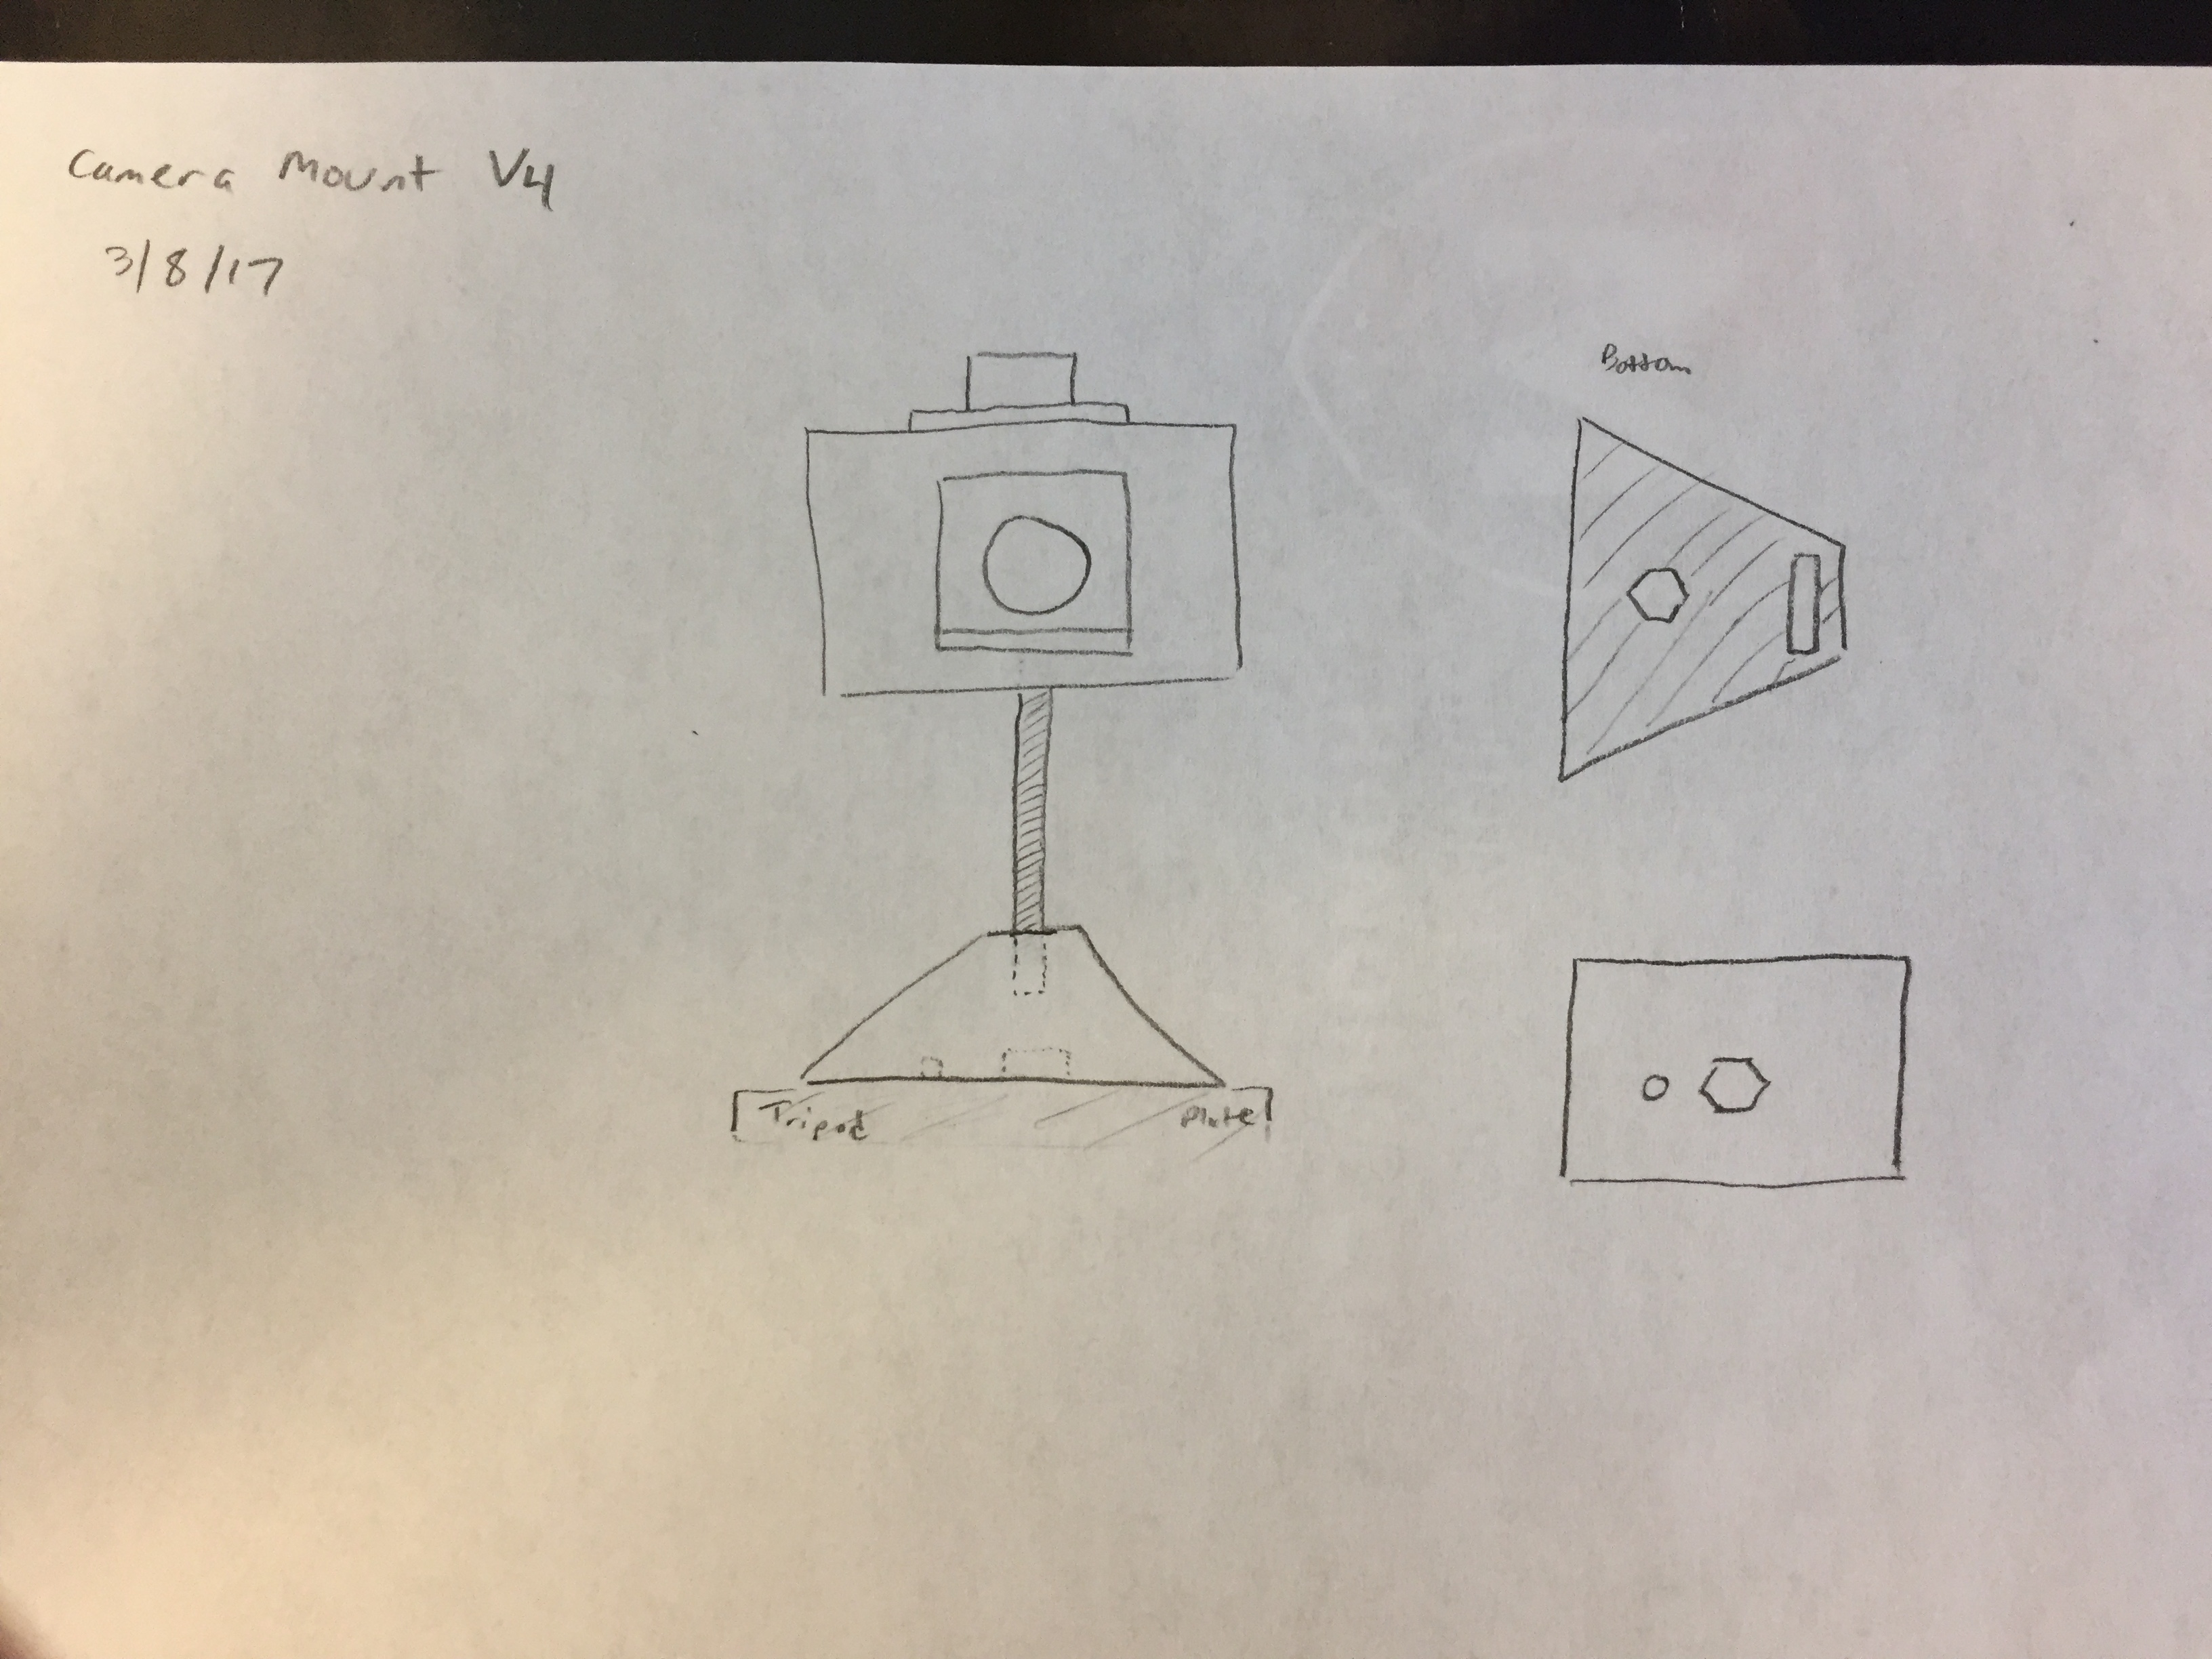

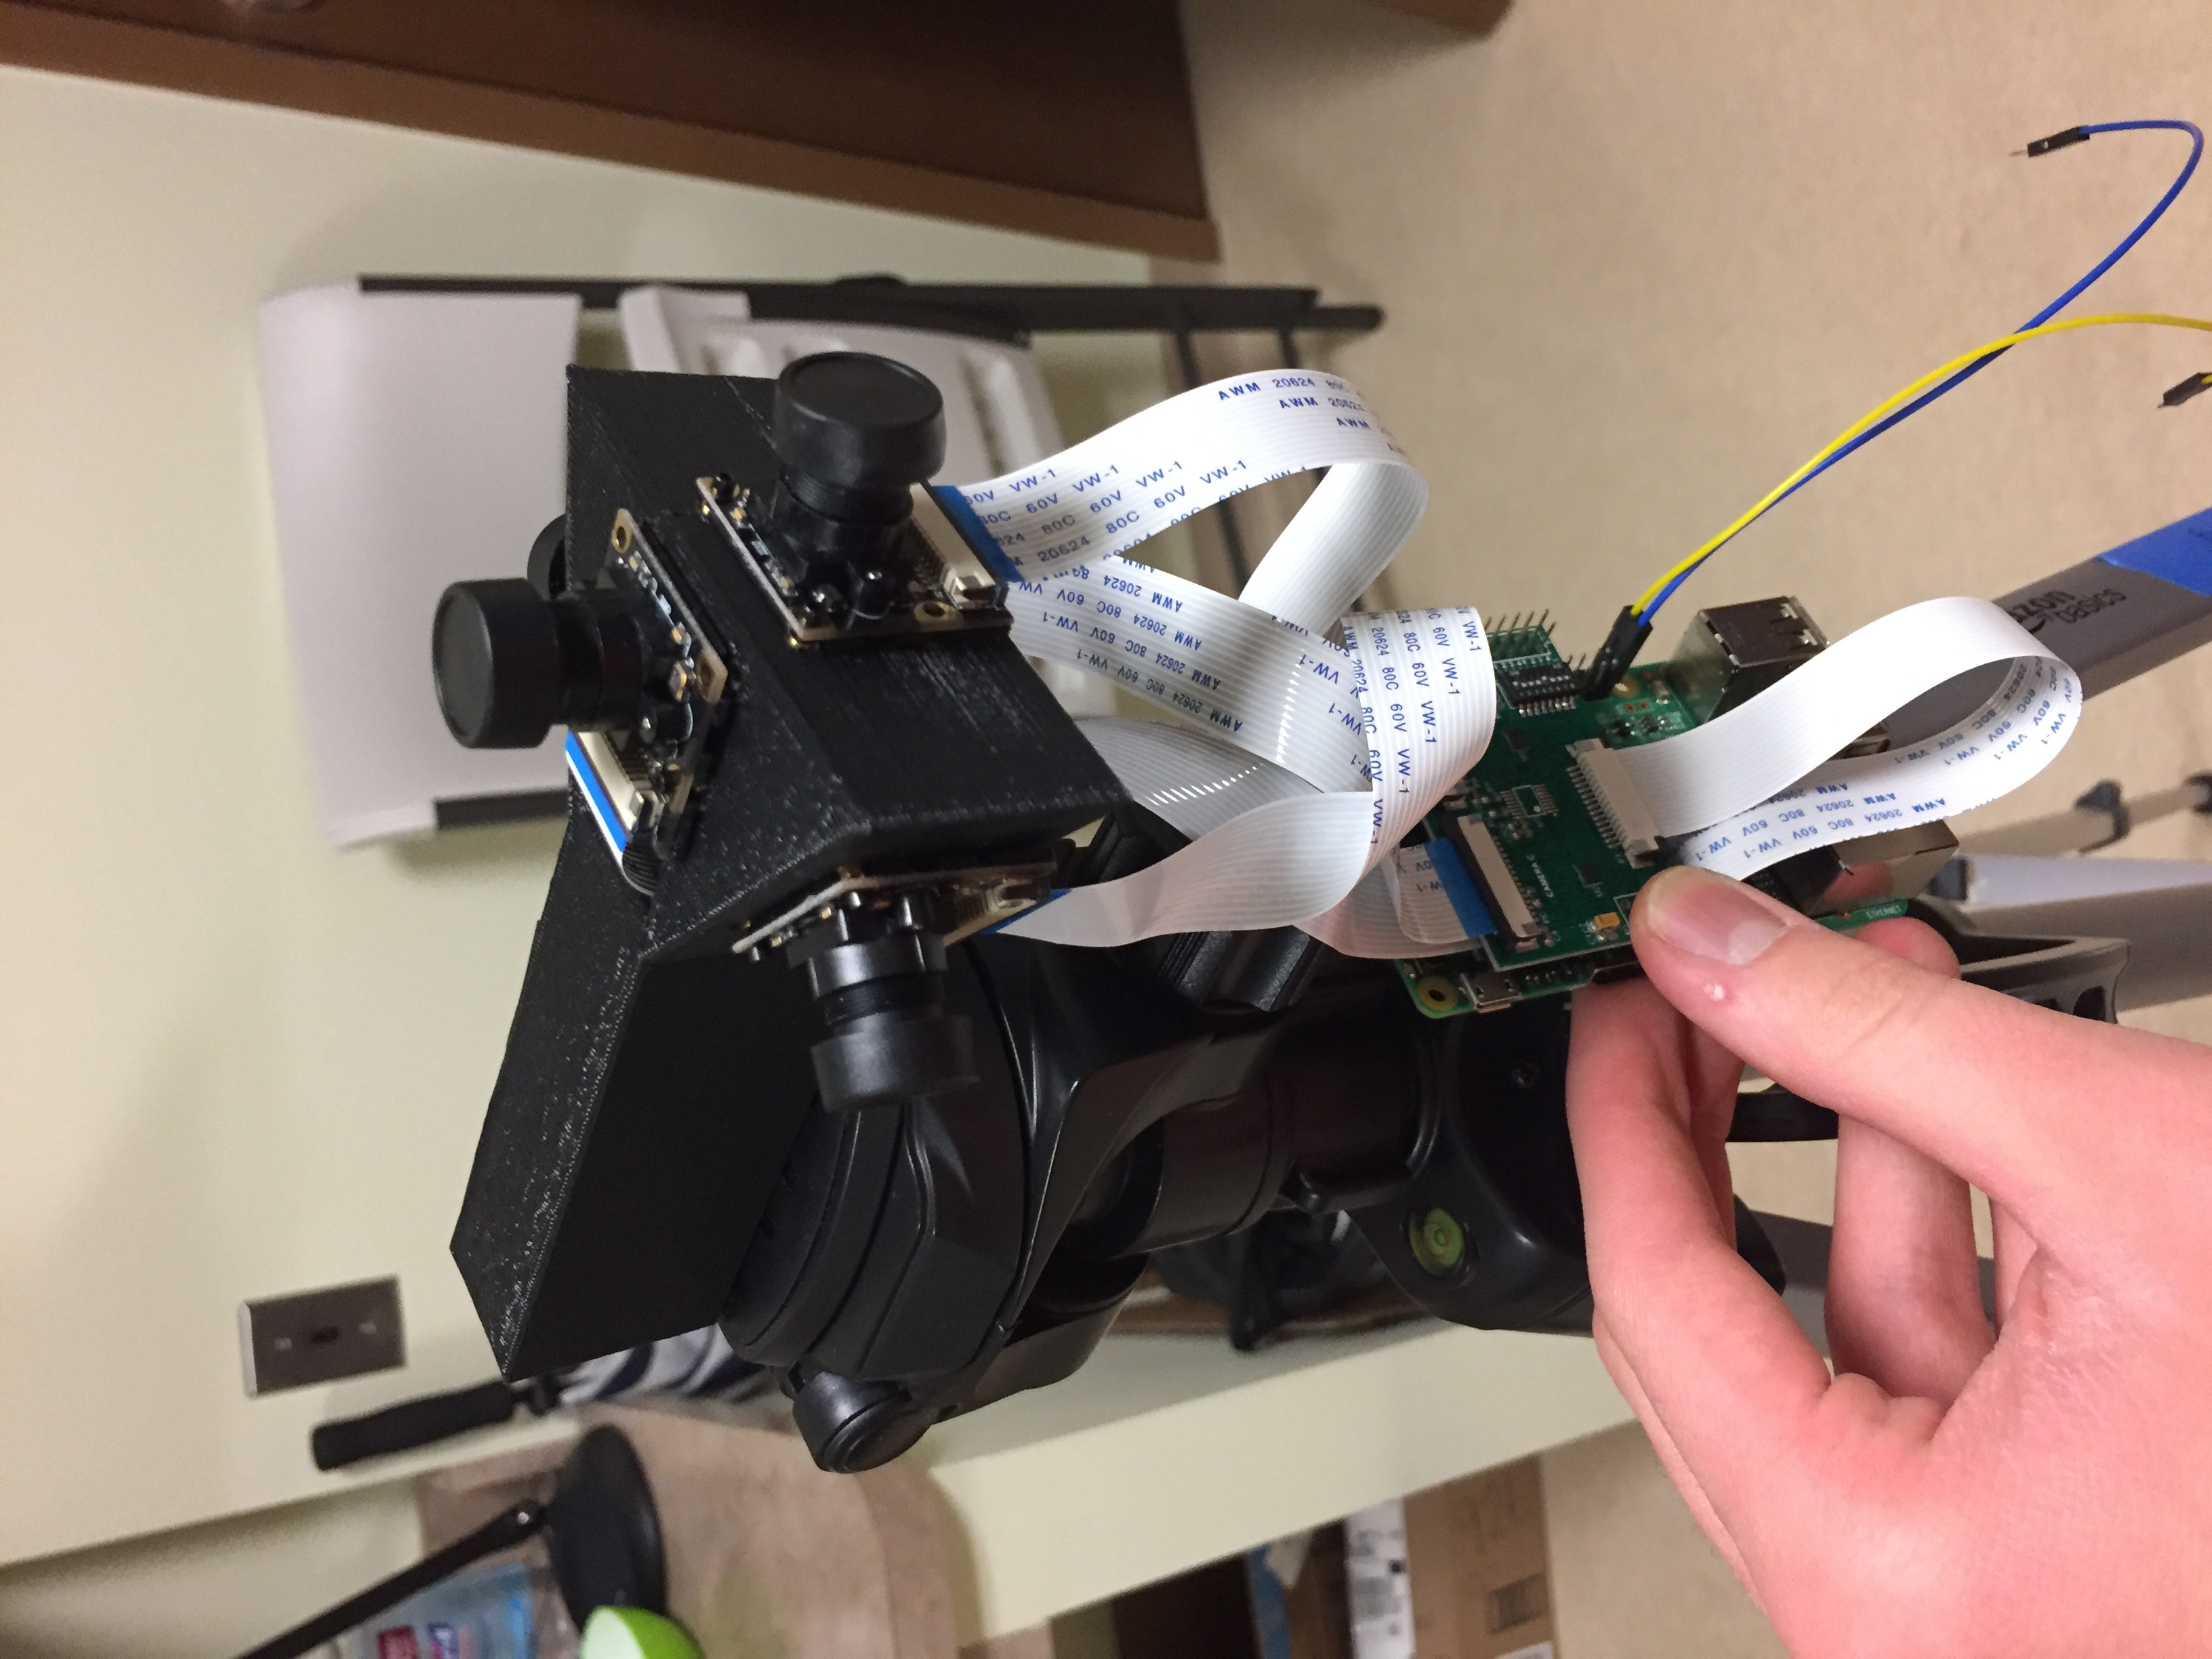
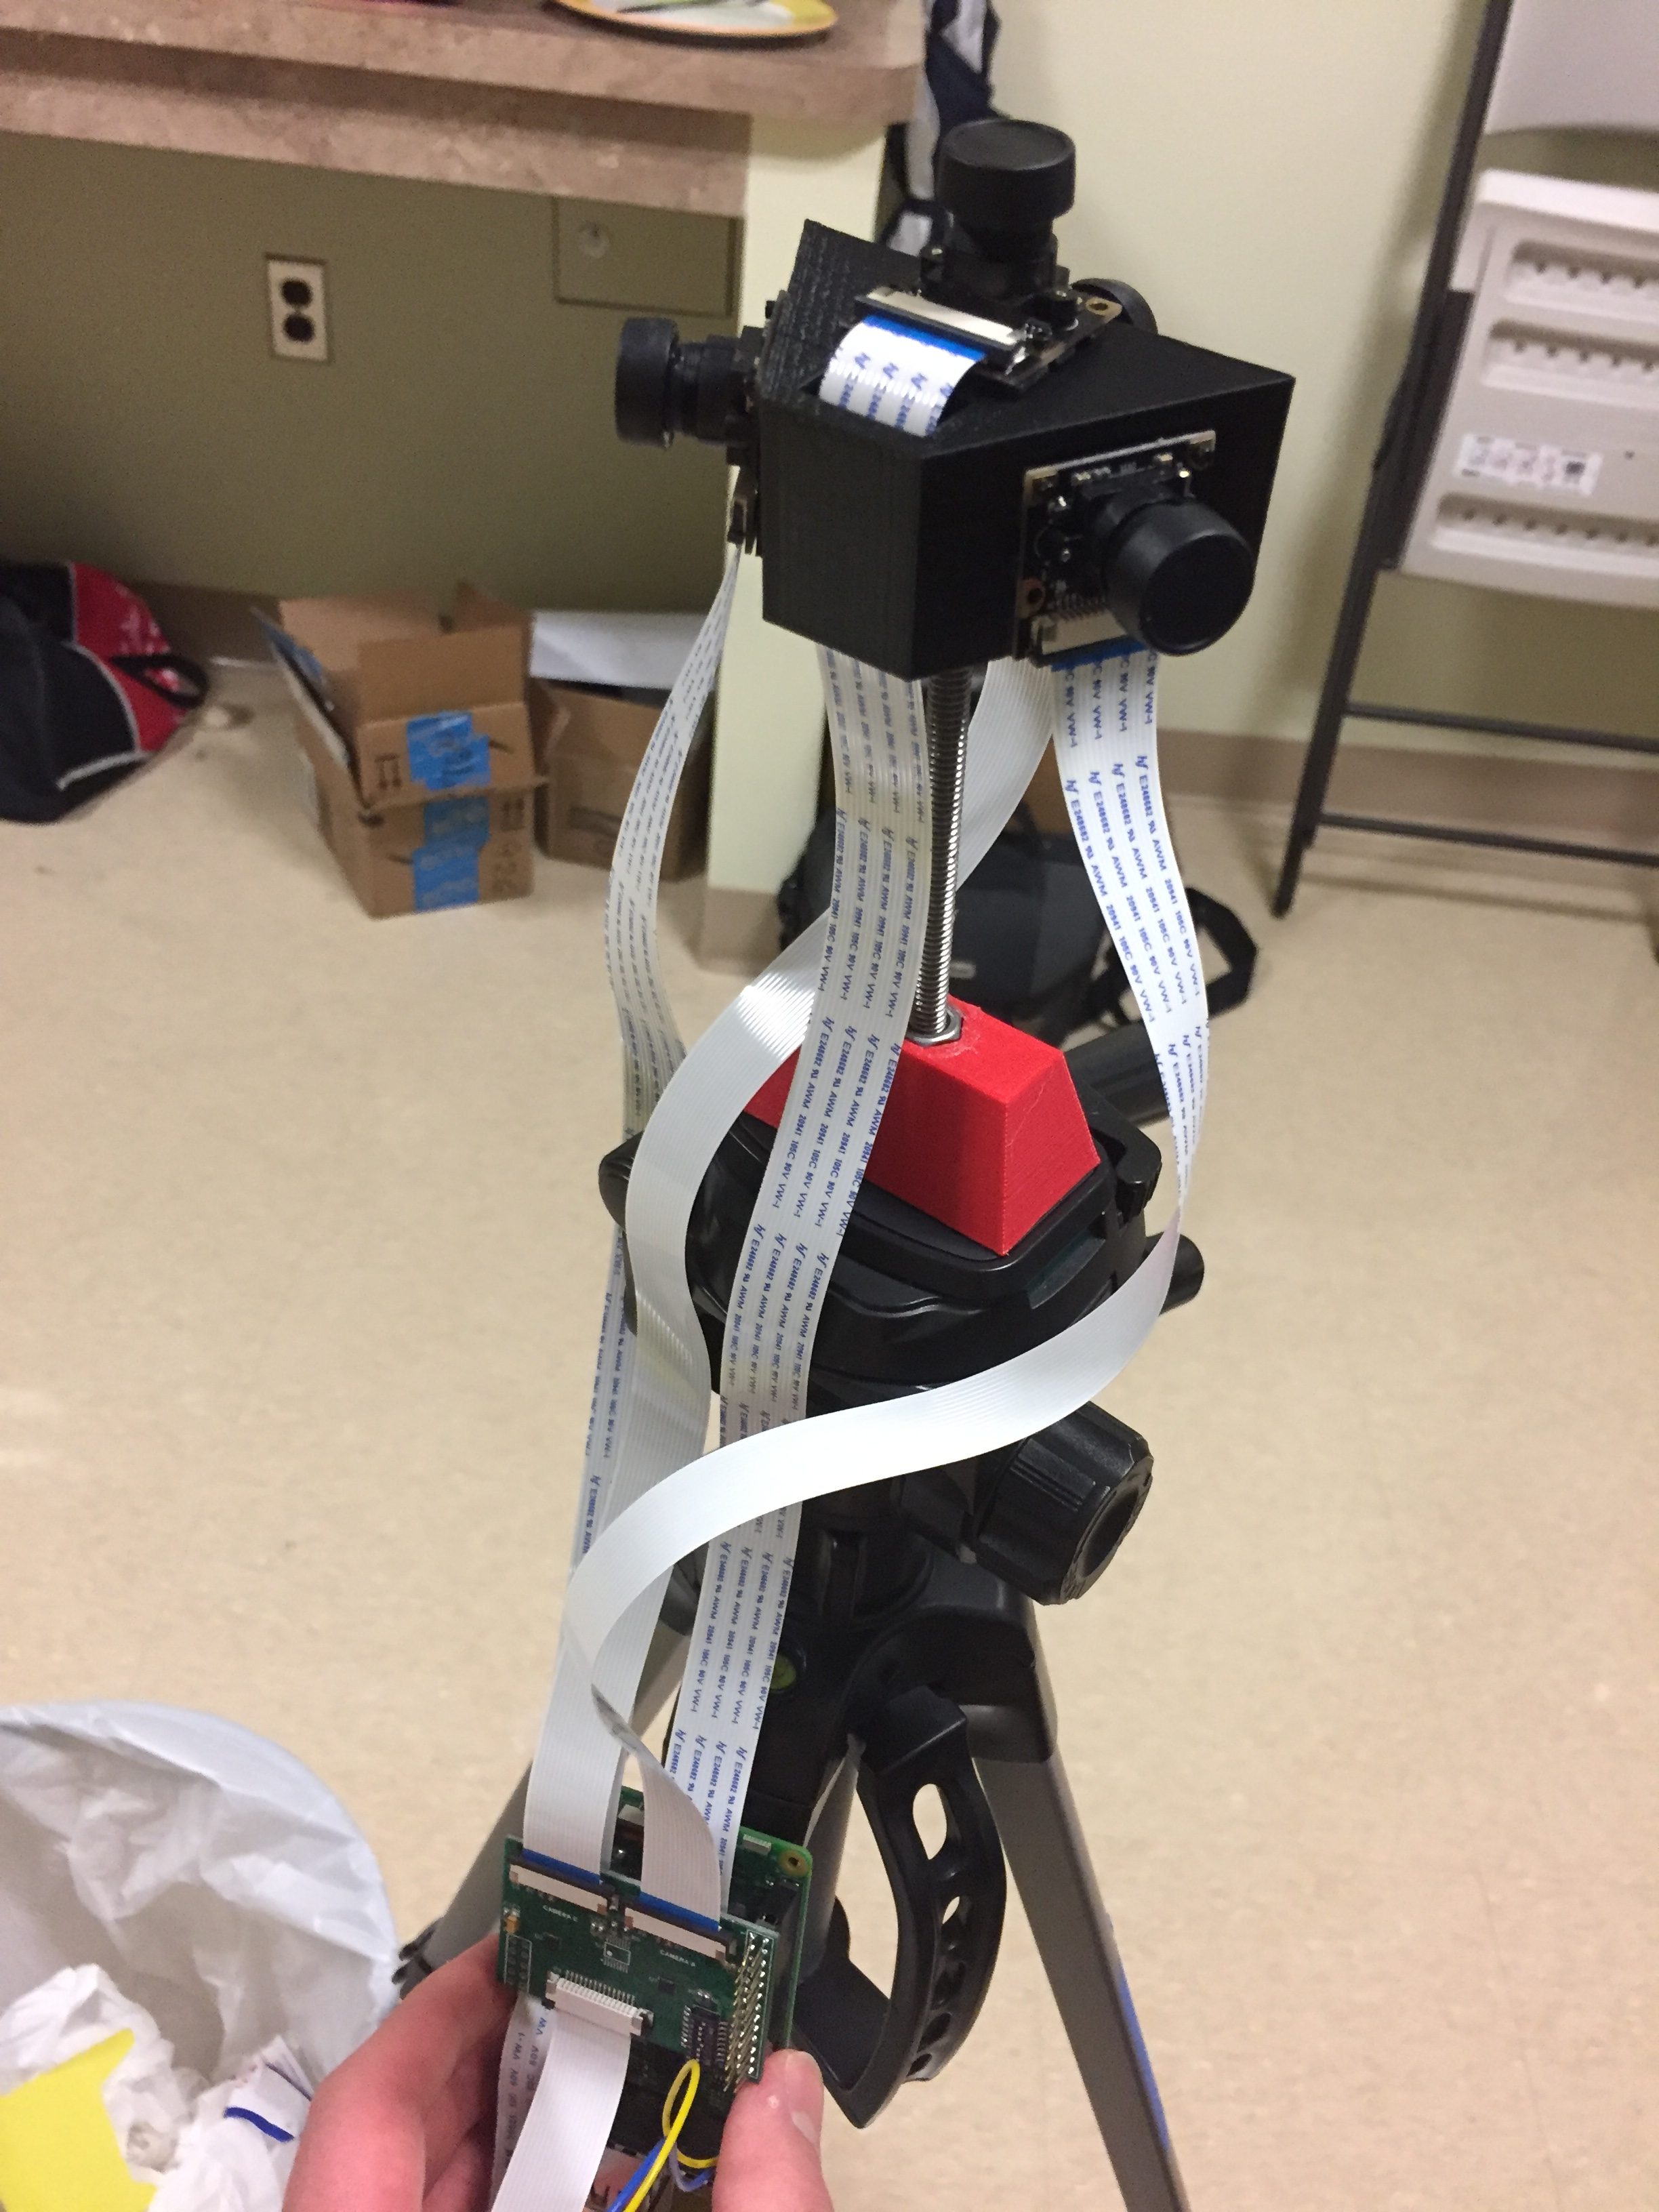
When this print finished, I affixed the hex nuts and reassembled the cameras on to it.
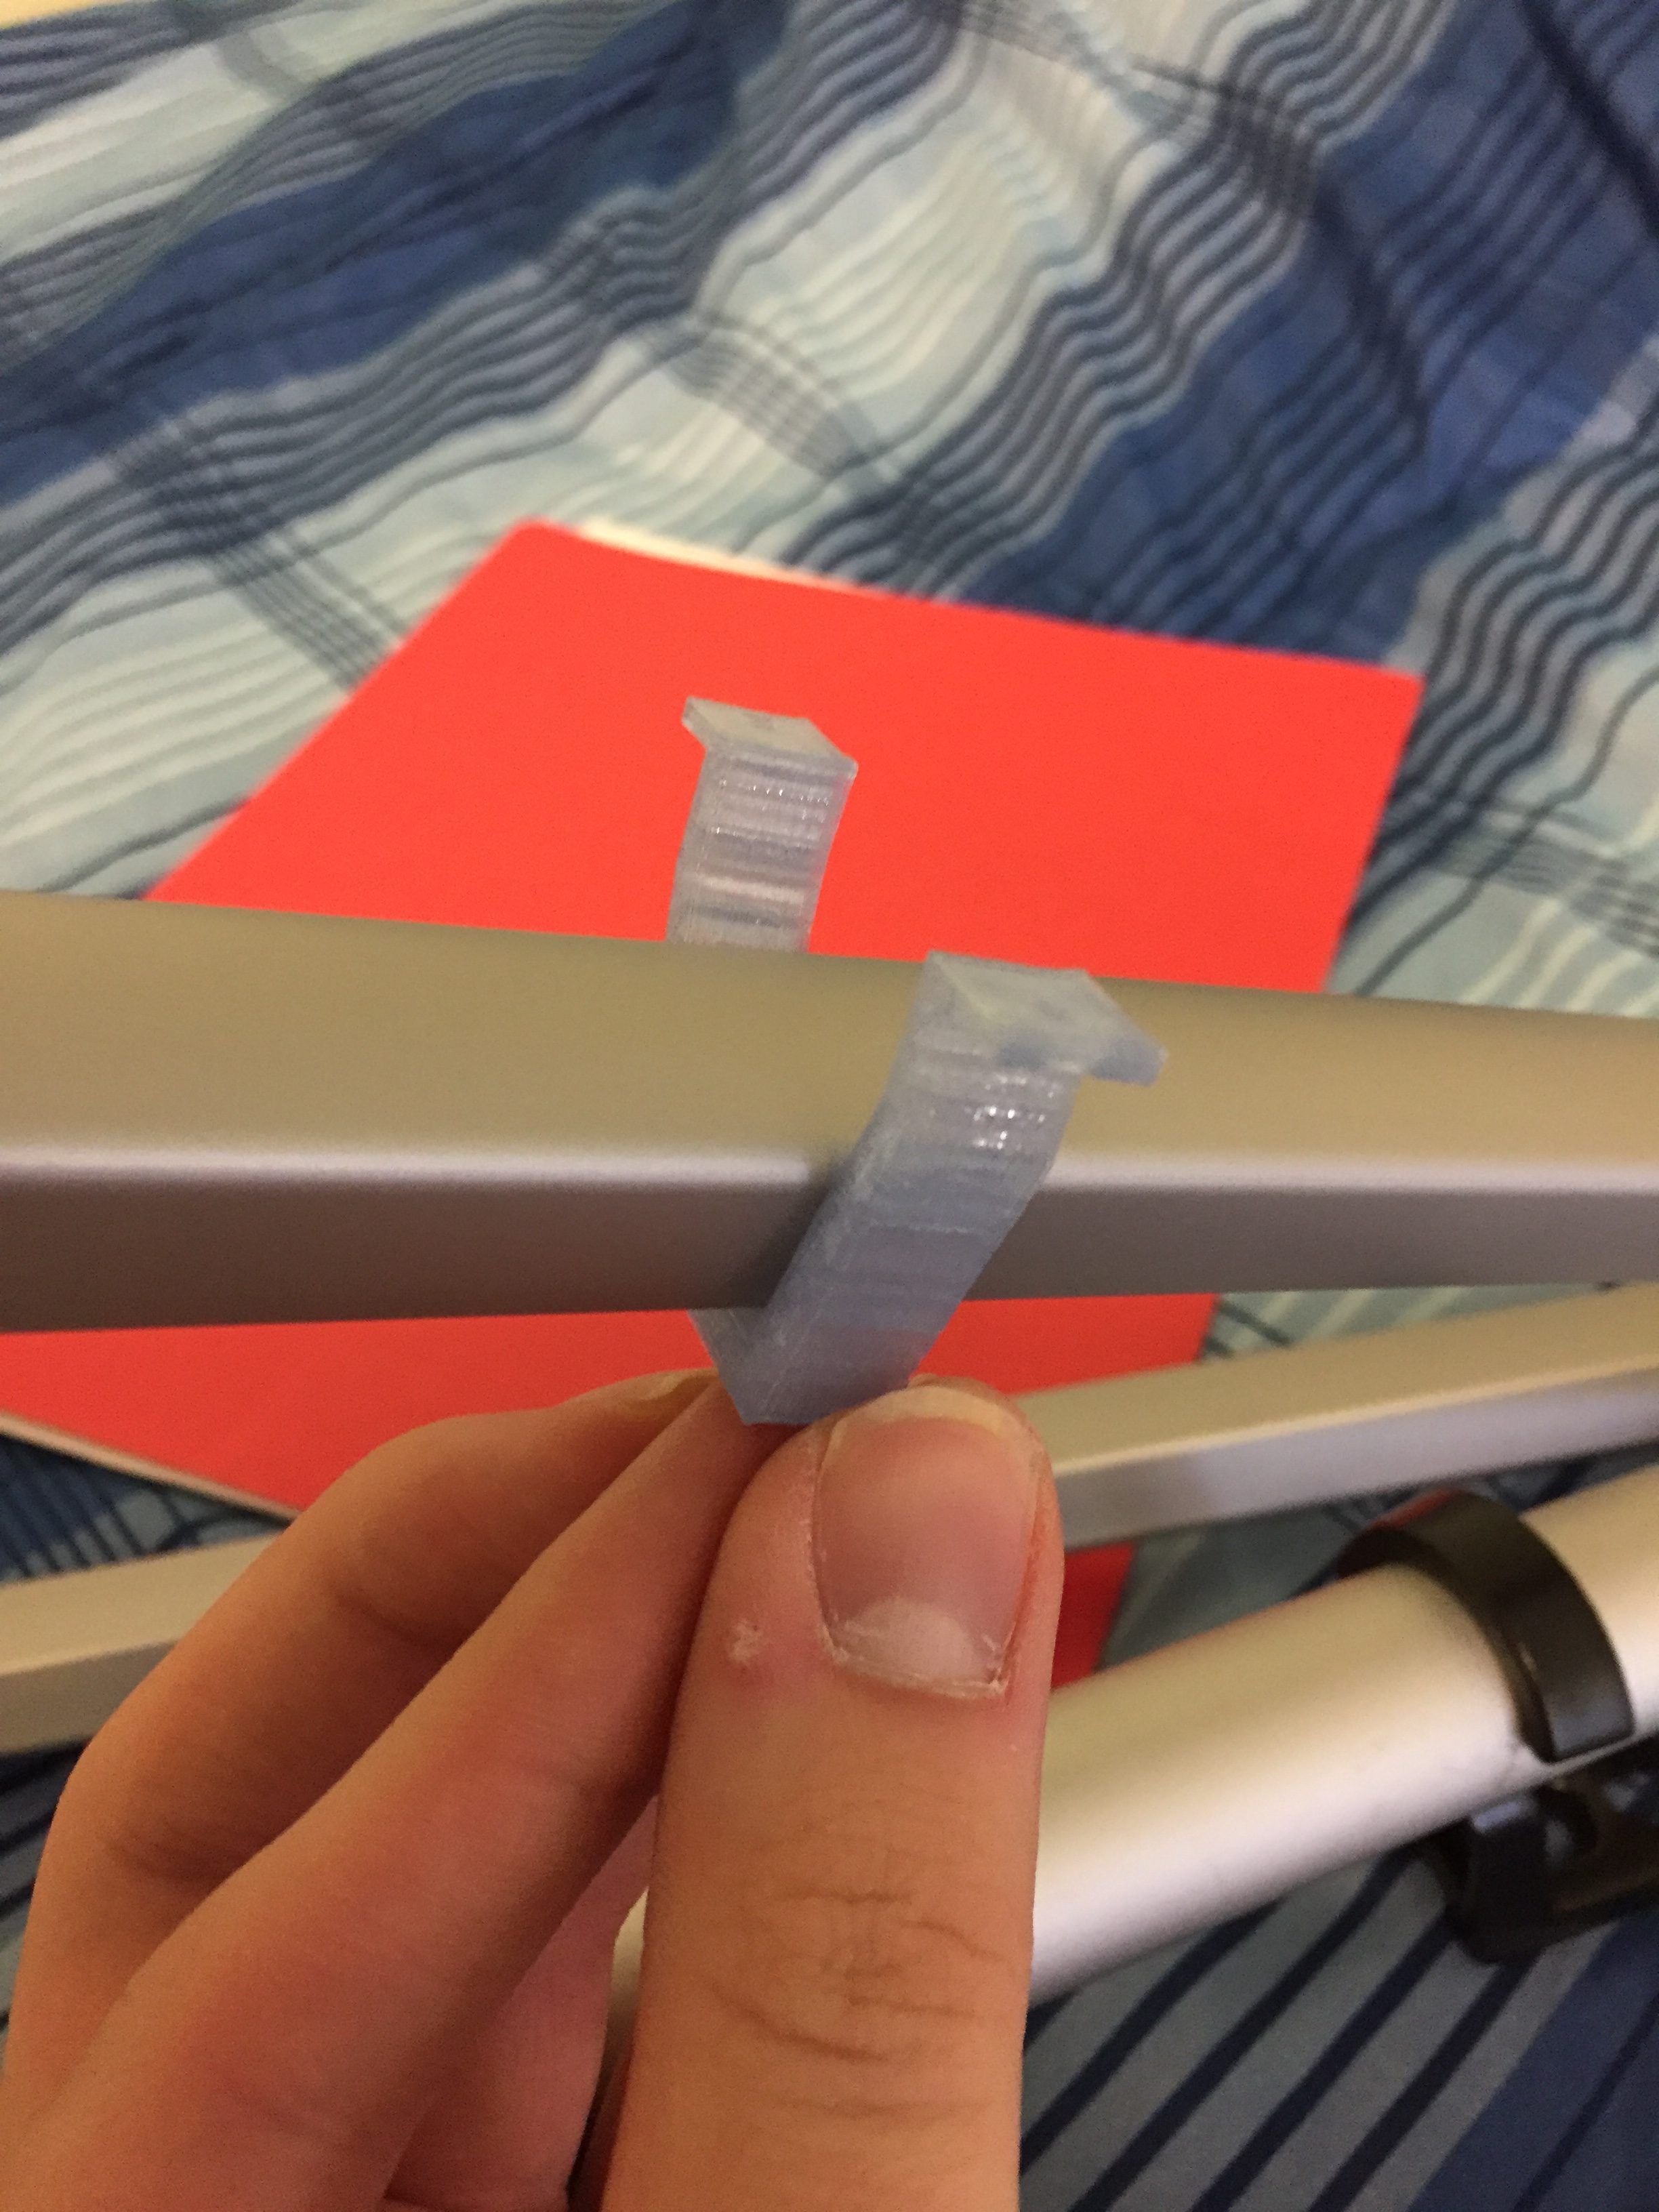
The first tripod brace I printed was too large. I made some additional measurements and modifications and then set it to be reprinted.
With some help from a friend I fixed the timestamp issue I was having last week. Now I can trigger the camera via the attached button and not worry about about overwriting previously taken photos.
I spent some time this week beginning to learn about computer vision and a variety of panoramic stitching tools. The PiCamera python library may be useful for this project, although it’s benefits over the raspistill command are not yet clear. My stakeholder interview gave me some further insights on stitching options to look into.
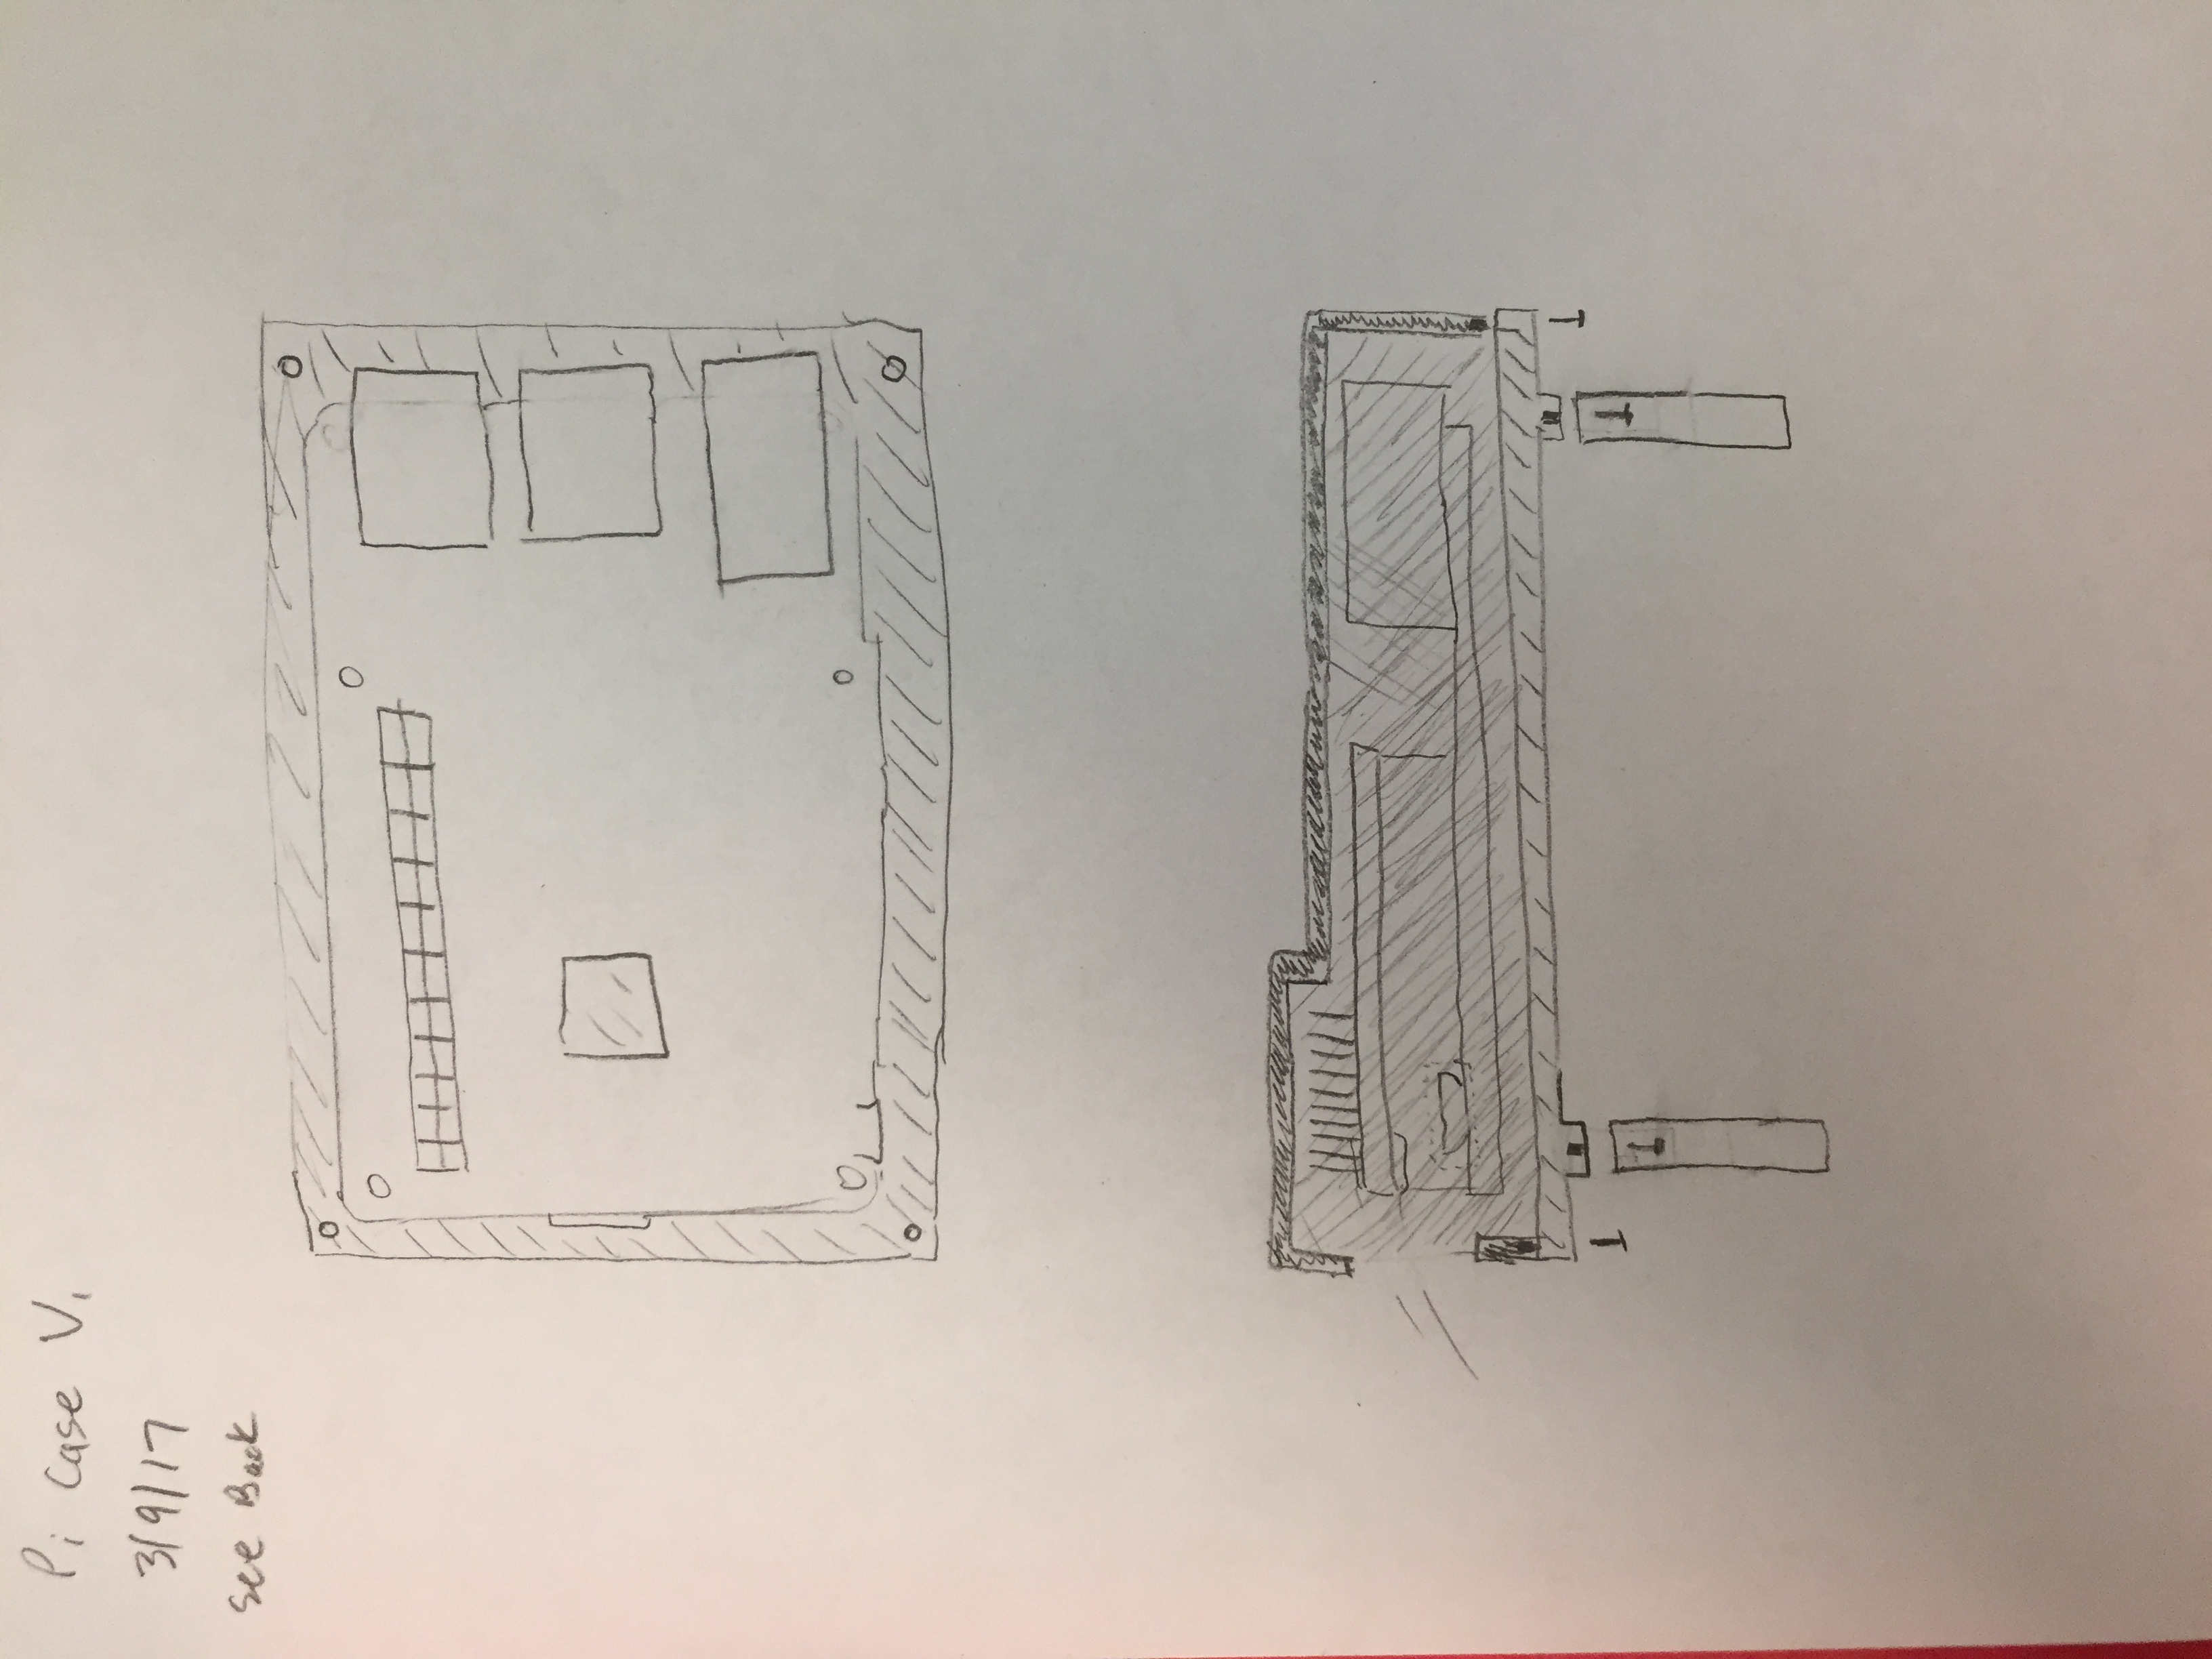
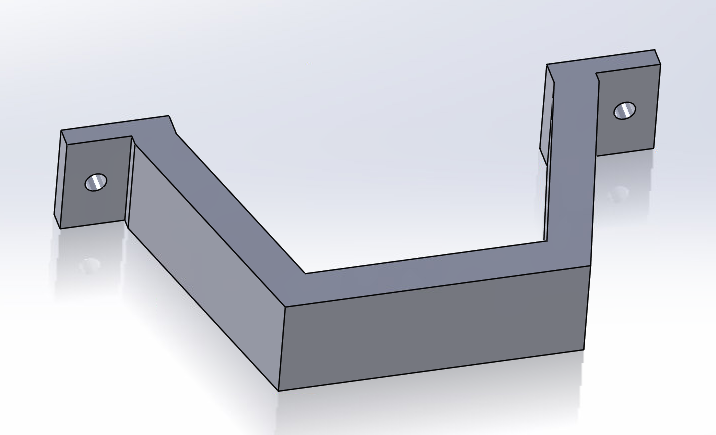
After making the sketches shown earlier, I started prototyping the case for the Pi.
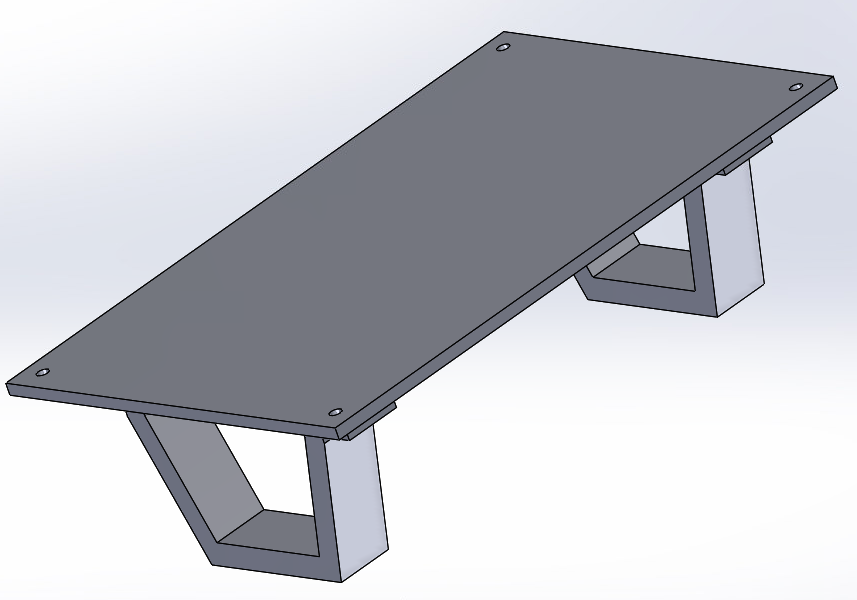

I plan on using the same screw inserts I used to mount the cameras. They’ll be inserted into the raised holes on the green plate, and then I will screw the tripod braces (red and blue) into these. I can print most rapidly at Terrapin Works if I don’t specify a color, which is why this week’s prototypes are a rainbow. The tripod braces will wrap around a leg of the tripod with some old bike tube in between as grip.
Earlier today I connected the Pi to a portable battery and brought it outside on my tripod – my first test outdoors.
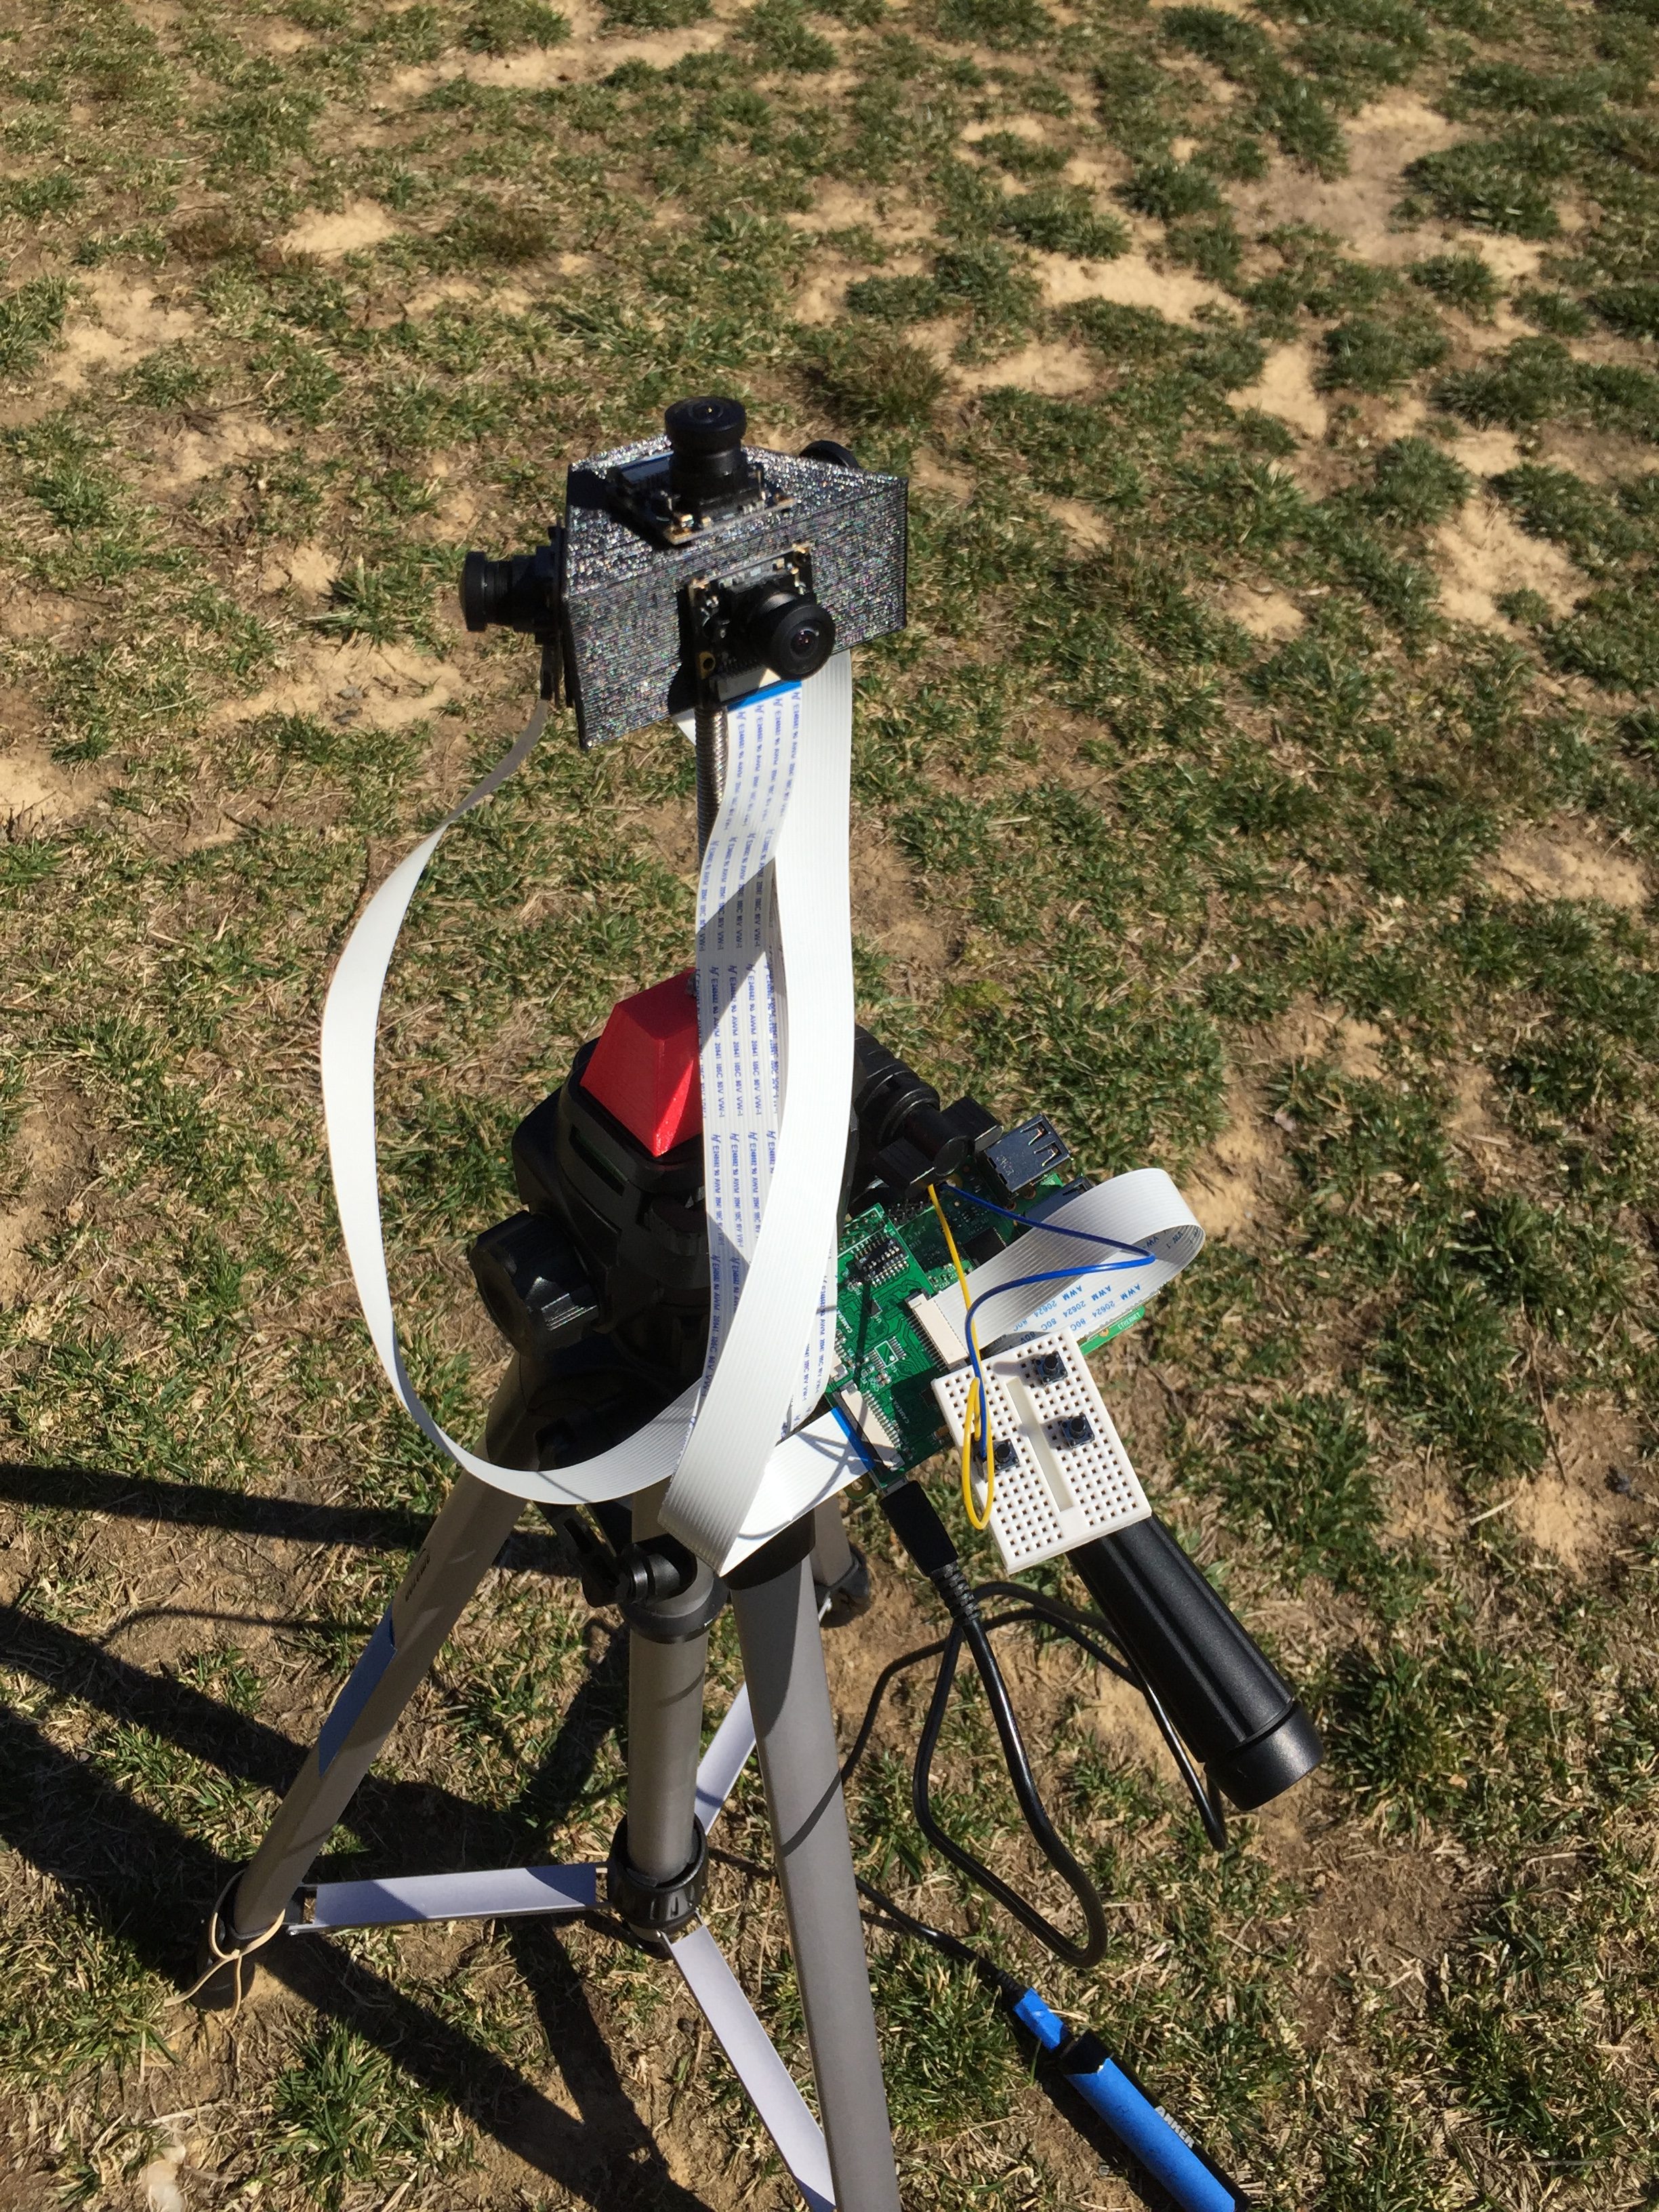
Unfortunately, this test did not reveal anything – the battery was not charged and promptly died. I didn’t realize this until several minutes outside in the cold. The hot glue used to secure the base to the tripod also failed and the system toppled. Fortunately, I caught it so no damage was done, but now I need to find a new way to adhere the two components.
Next week I will fix this and continue testing. I hope to learn more in depth about how to do the stitching that needs to be done.