The Arduino shield I designed arrived from Oshpark about two weeks after I ordered it. There were a couple remnant production scraps on the edges that I had to remove, but other than that, the board looked great.
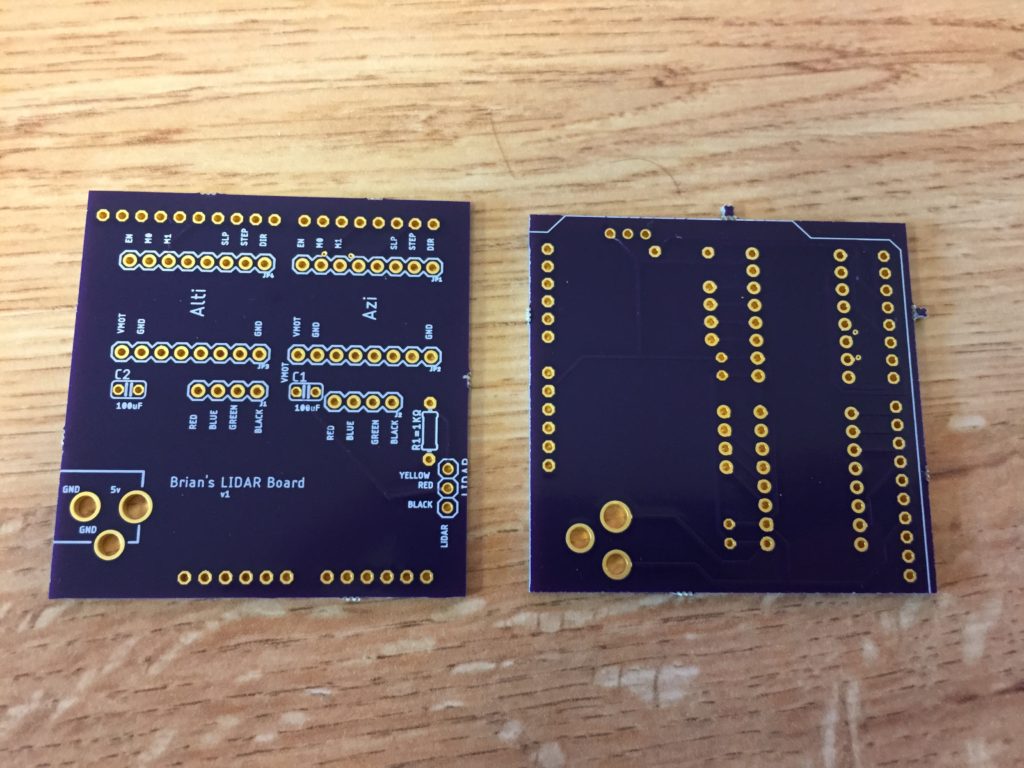


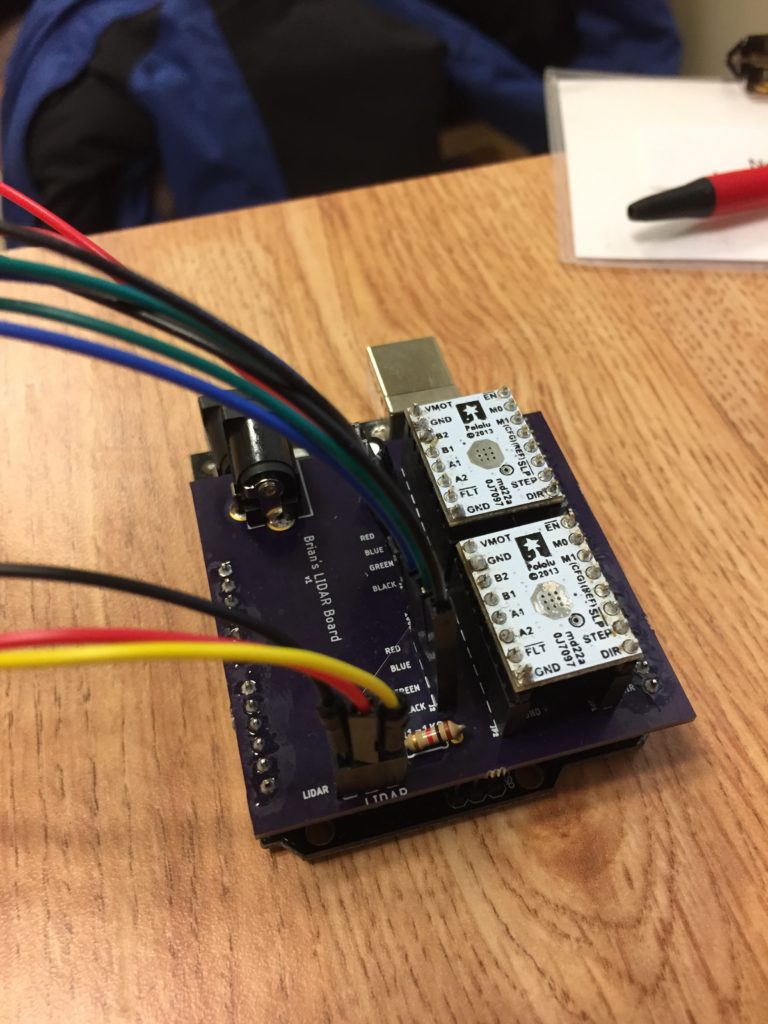
I designed the board to have mounts for both motor drivers, as I didn’t want to lose the ability to easily remove them from the board. I made sure to label all of the relevant pins to facilitate connecting each wire to the right place.
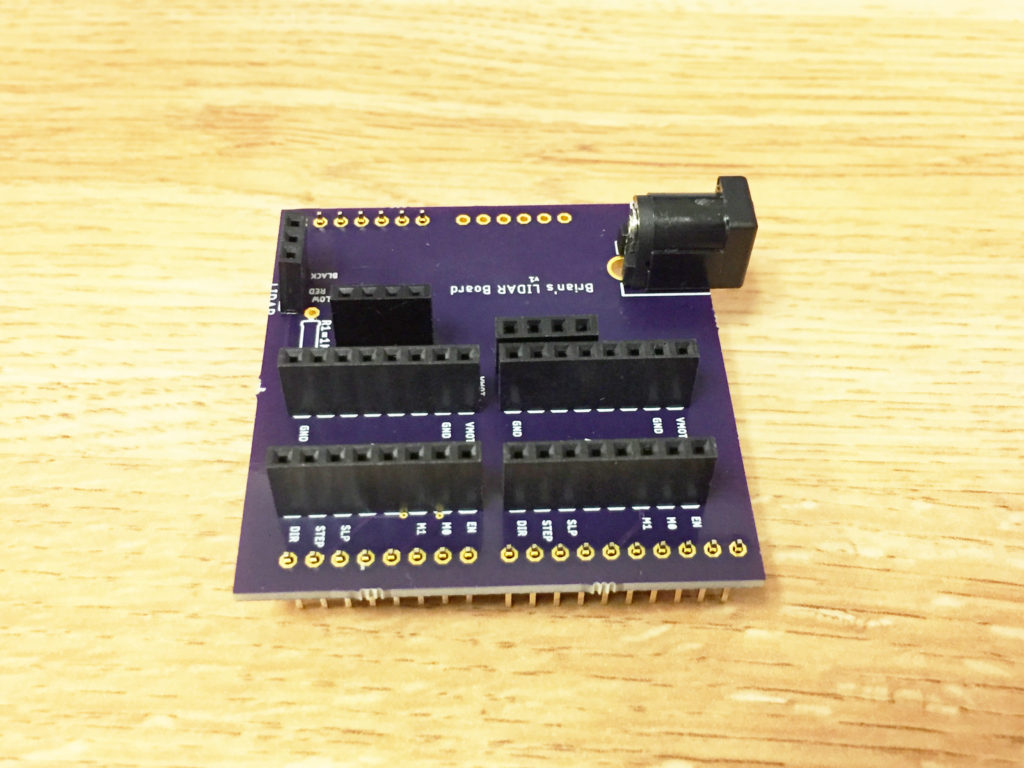
I soldered all of the pins in place one by one. To help mount them perpendicular to the board, I used a bit of tape to hold them in place.

Having a good fine tipped soldering iron and some flux made this process much easier. If you’re new to soldering, I recommend you read through the Mighty Ohm Soldering Guide. It’s a great resource to get started. When I originally soldered the pins on the motor drivers, both of them came out crooked. I needed them to be straighter to fit nicely in the headers on the board. I had a small vice that I gingerly clamped one of the motor drivers in. I used the soldering iron to heat up the existing solder and make it flexible enough for the pins to bend, and then slowly tightened the vice a tiny bit. This actually worked really well and after a few minutes, I had all of the pins straight on both drivers.
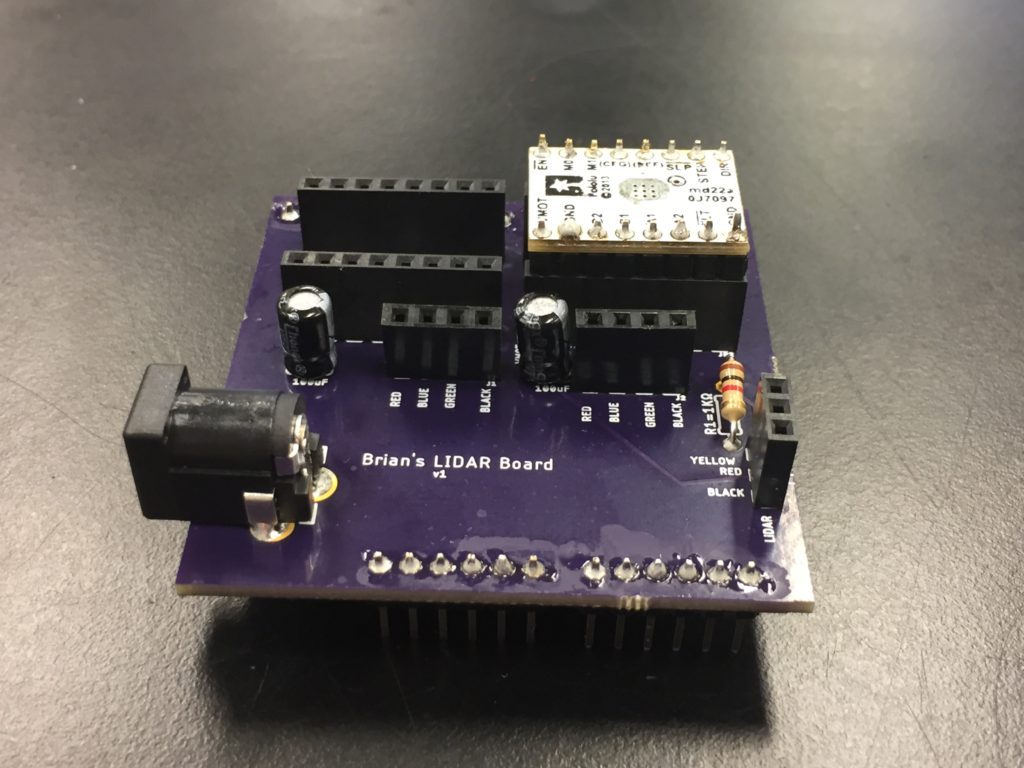
The finished board looks really nice sitting on the Arduino.

The inclusion of this new shield dramatically reduced the wire clutter of this project. Here’s a before and after photo for comparison.