Yesterday (04/05/17), I did a full day time-lapse to test my system. I woke up early enough to set up the camera just before sunrise, to capture the entire day. For reasons unknown, the Pi wouldn’t connect to wifi in my room or in the field. Unable to connect via VNC, I connected it to my monitor, keyboard, and mouse and kicked off the time-lapse program before bringing it outside. Without internet connectivity, I couldn’t easily check on the system’s progress. Each camera has a little red LED that turns on when any of them are taking a photo. In daylight, I couldn’t see these lights without being very close to the cameras, which would have obstructed their view. This created a frustrating paradox – the only time I could confirm that the system was working was the only time I didn’t want to be near it. I just had to trust that it was running all day. It wasn’t until nightfall that I could see the lights from my seat and verify that it had been working all day long.
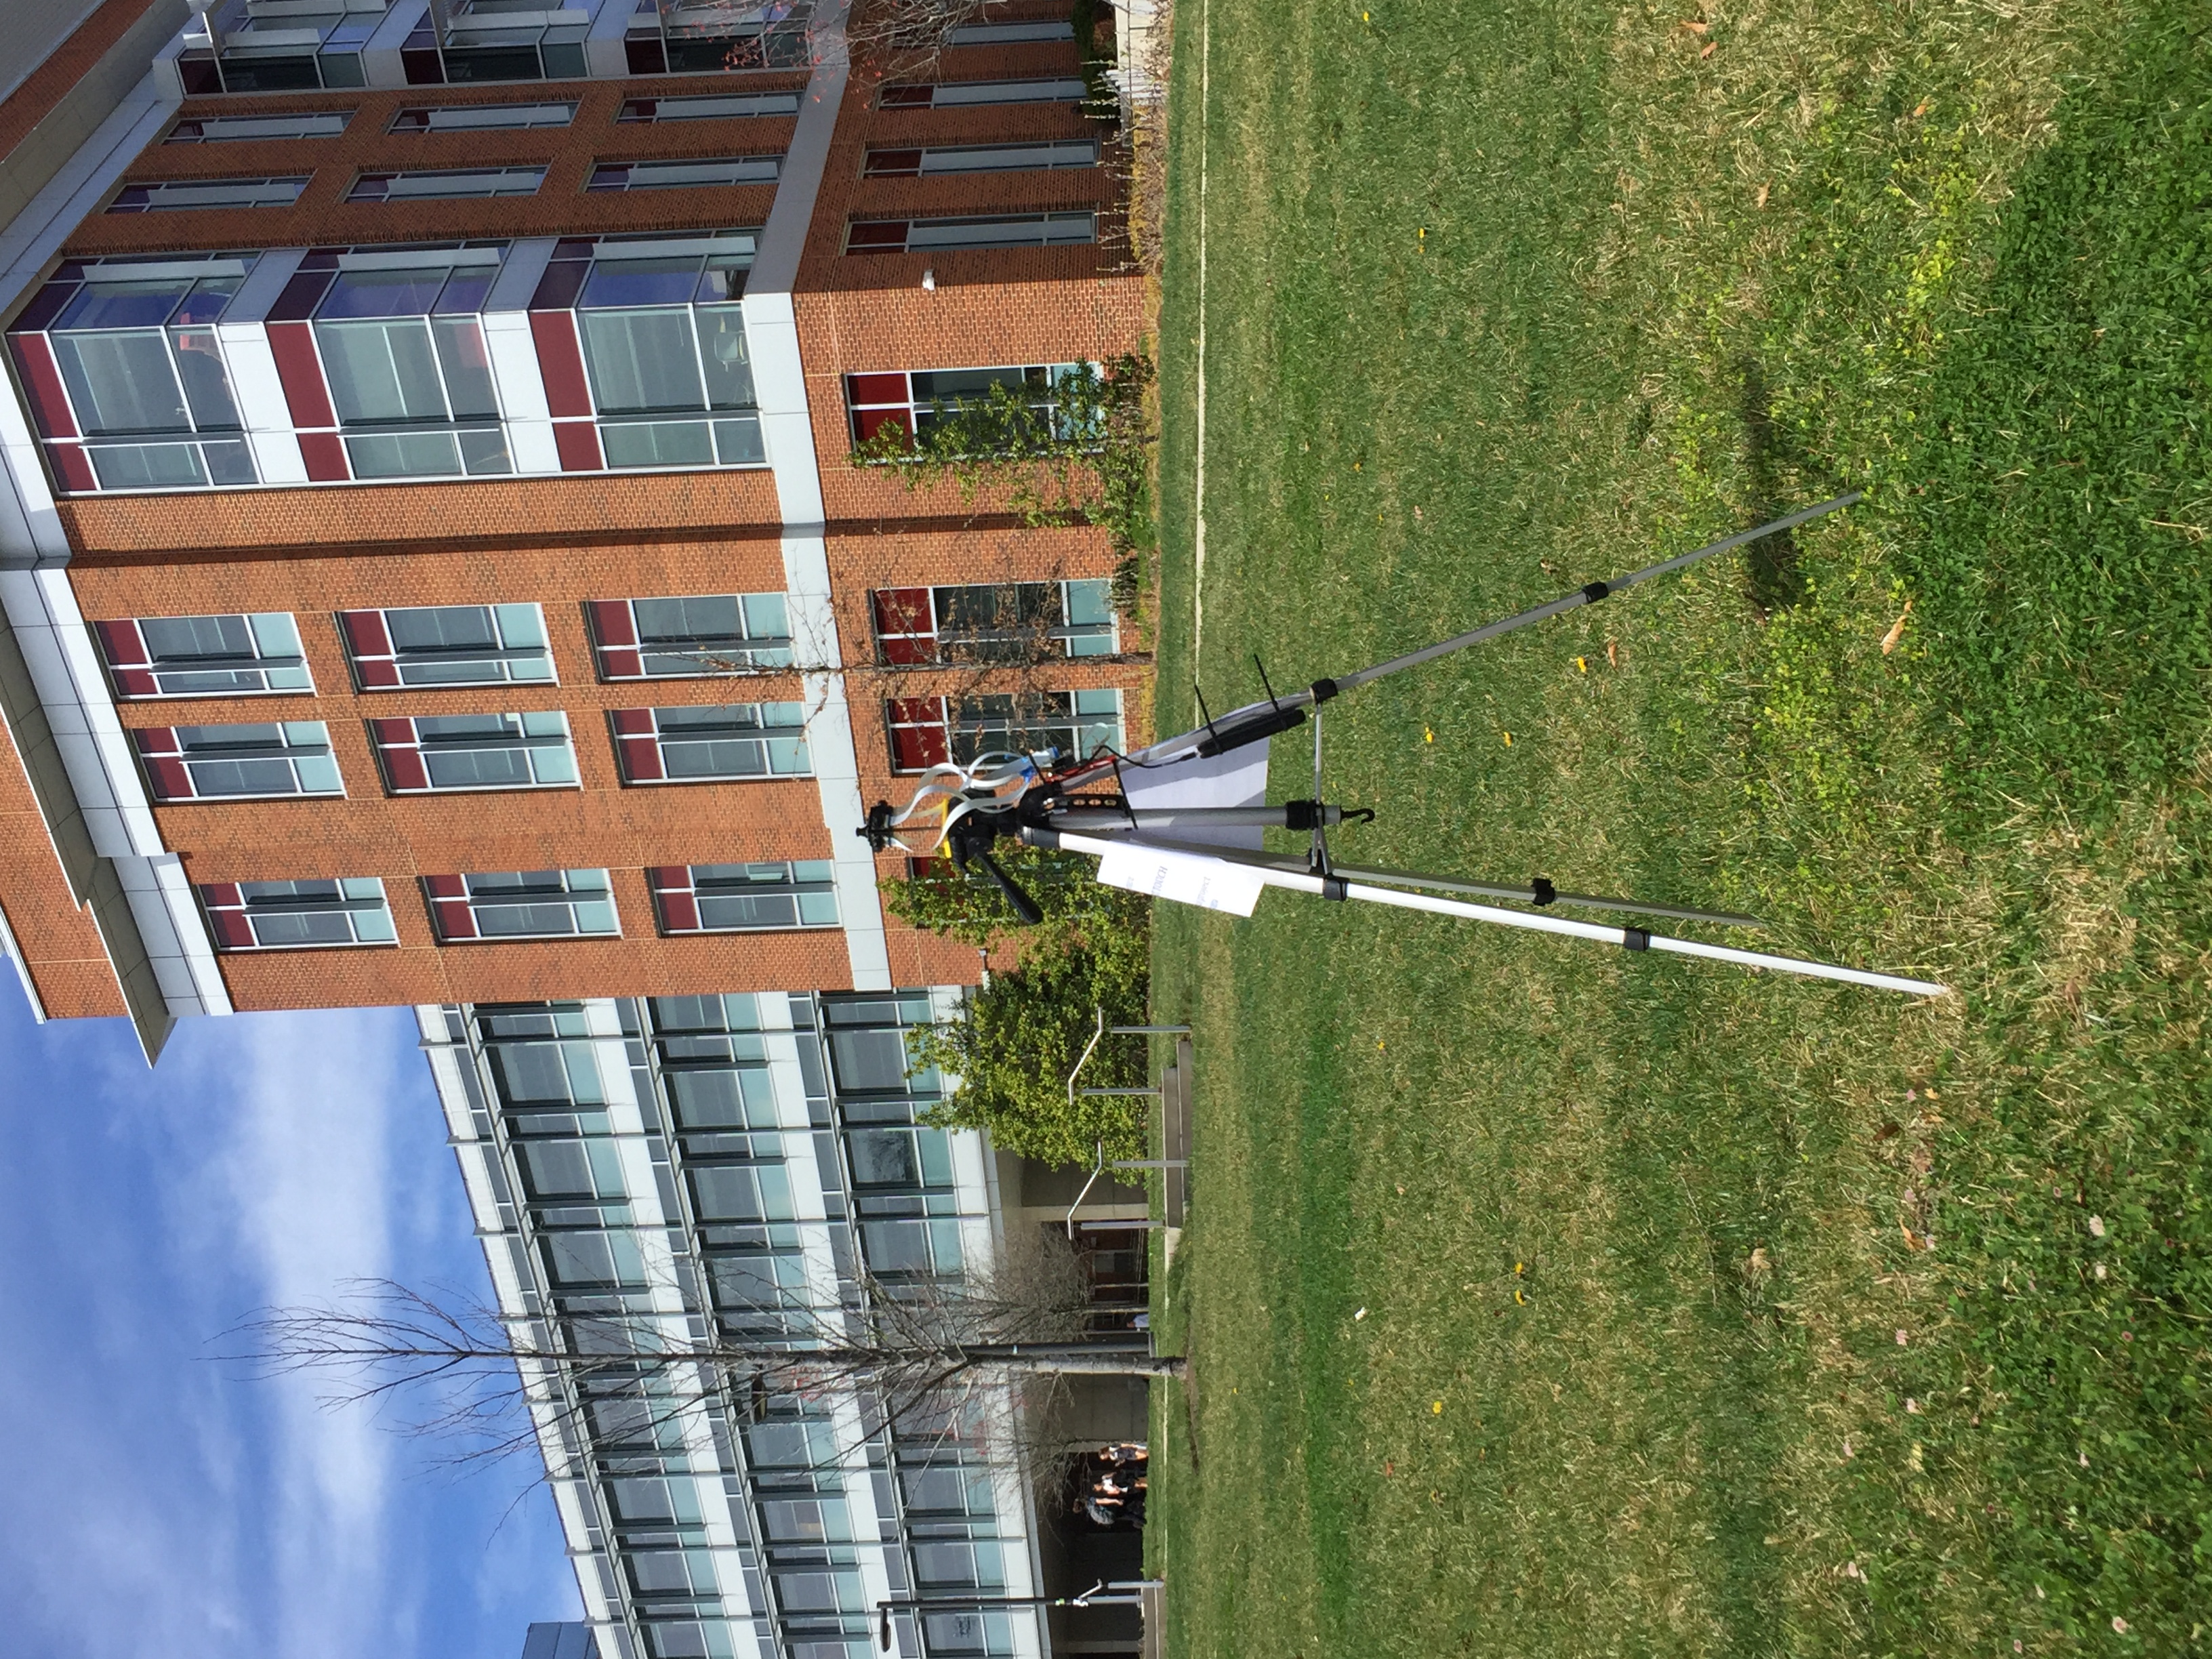
It was a beautiful warm sunny day, and I’m glad I spent almost all of it outside. I set up the camera on the front lawn of the Physical Sciences building, where it had a clear view of the Regents/Stadium drive traffic and sidewalk pedestrian traffic. I also chose this spot because of the handrail that separated the majority of people from this project, keeping it safely out of reach.
There was a spectacular sunset, which unfortunately happened almost too quickly for the time-lapse to capture. 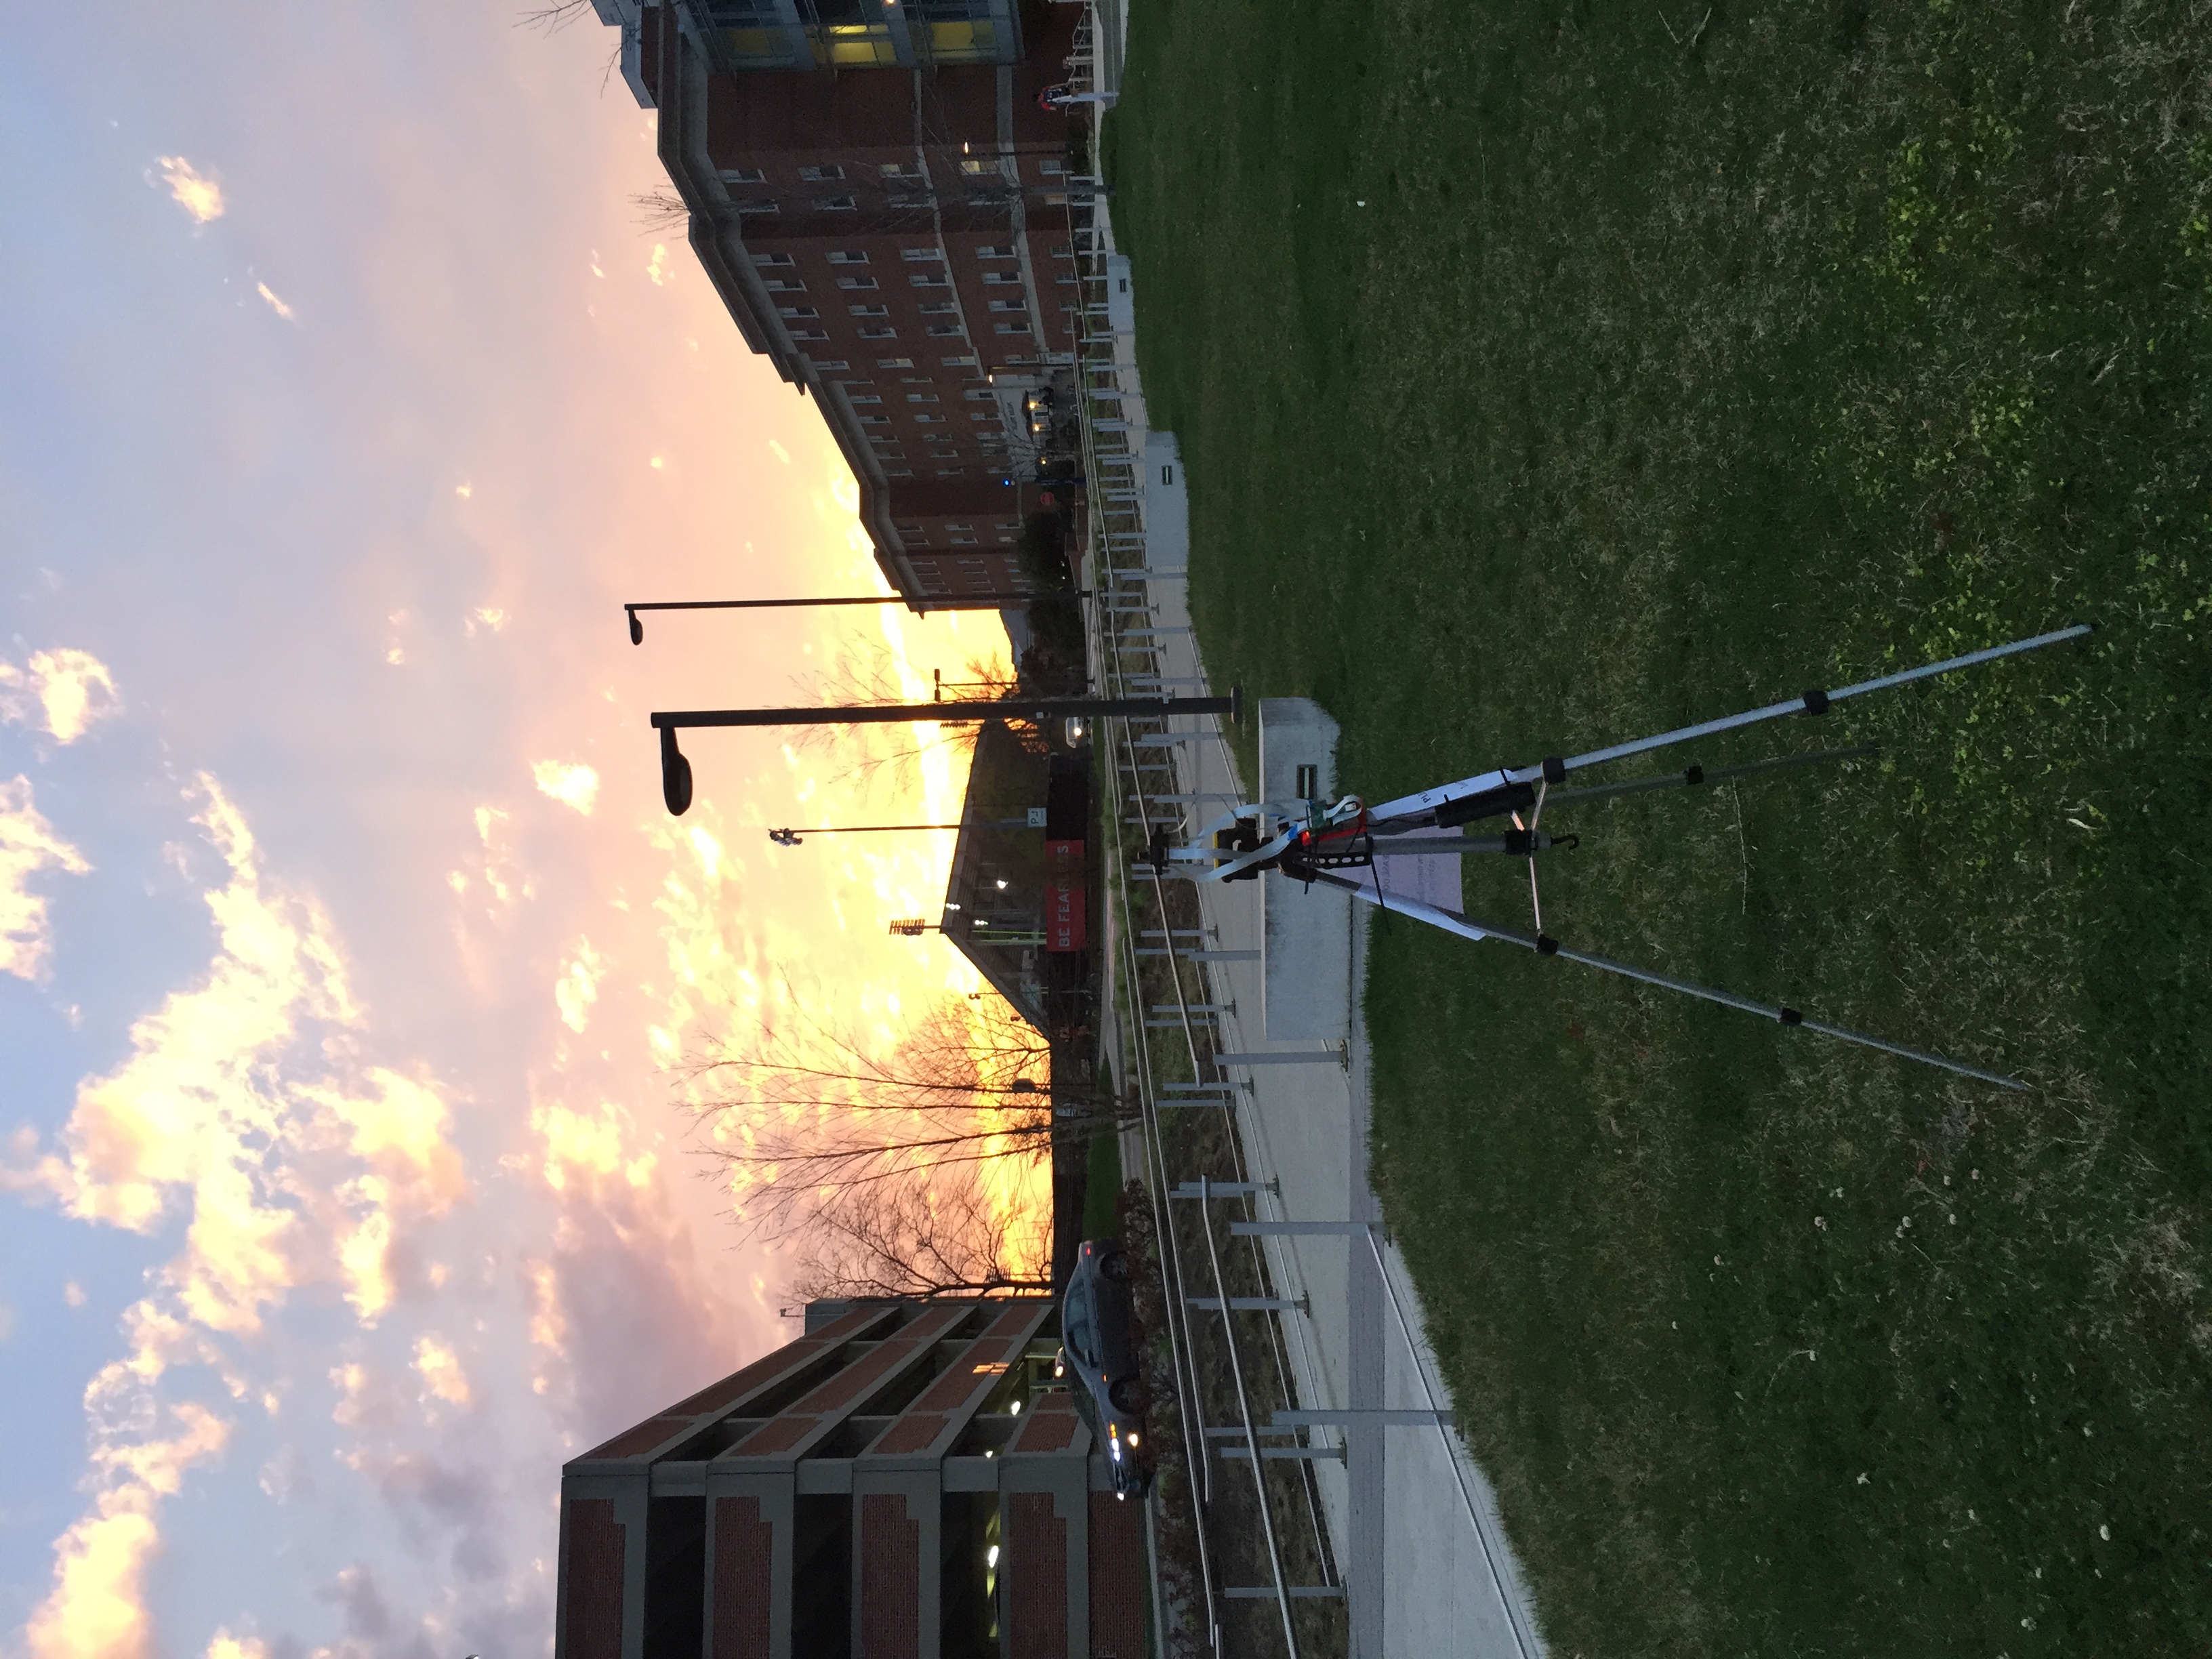
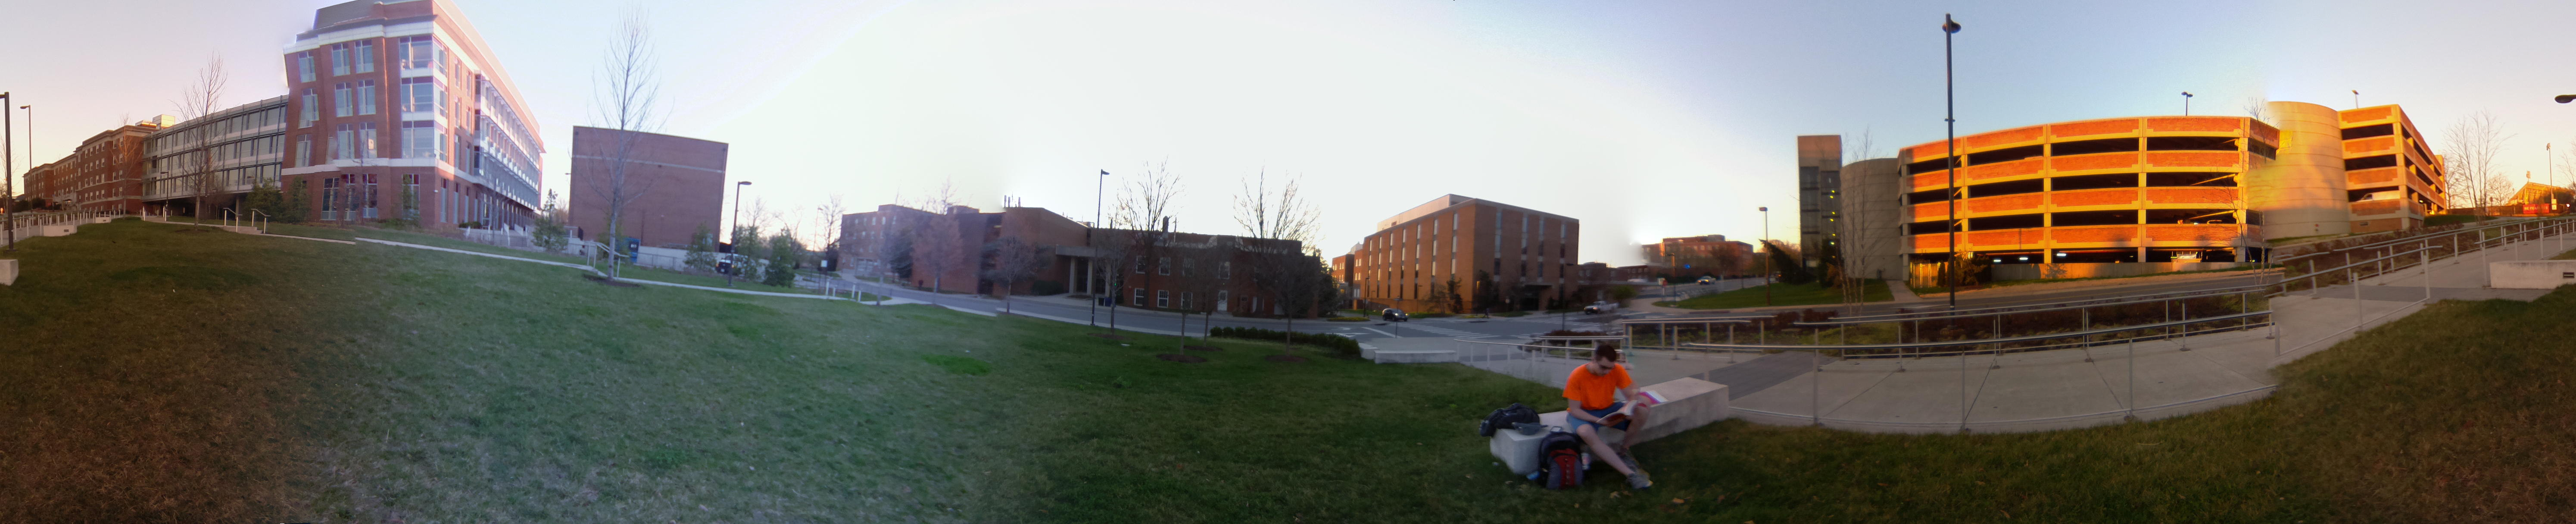
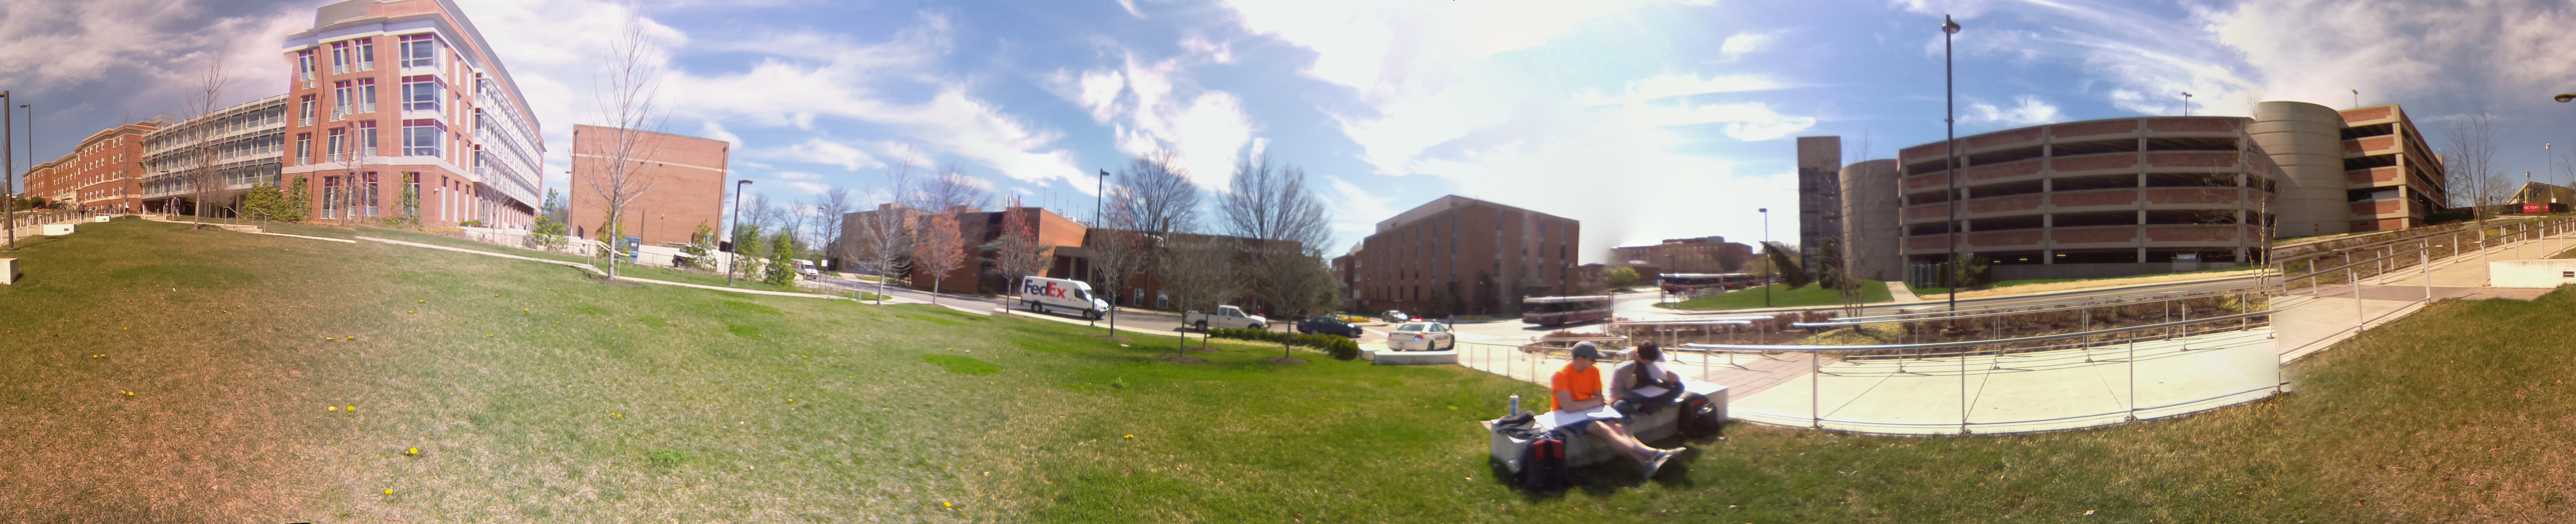
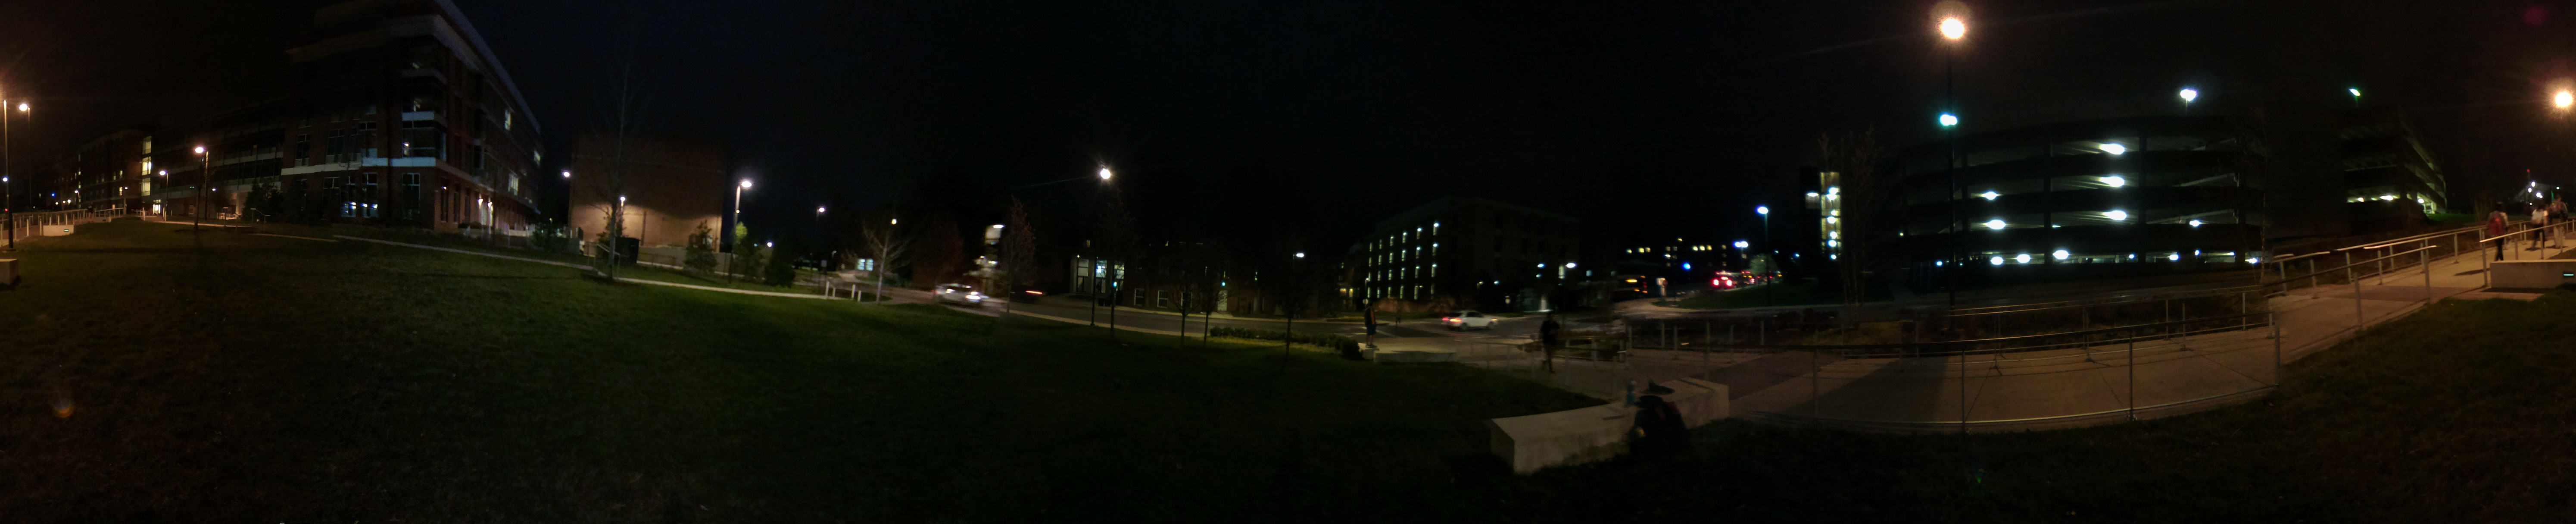
I left the system running from 6:45AM to 8:30PM. In that time it took 409 rounds, totally 13GB. I’ve included a few panoramas from the day below:
When I brought the system back inside, I copied all the tifs to my computer. Following the steps listed here I imported the frames into Adobe Premiere. Premiere defaulted to a frame rate of 29.9 fps, which made for a brisk 13 second video. I halved the speed to make it a much more reasonable 27 second long video. Following the steps on Google’s page on 360 videos, I added the metadata necessary and uploaded the video to Youtube. Youtube’s app natively supports Cardboard, so I was able to watch the video as soon as it finished uploading.
Here is the resulting time-lapse. It looks much cooler in Google Cardboard. If you have one, watch it there first. Make sure Youtube plays it at the highest resolution available.